

Setting Up Bare Metal Virtualization using ESXi Hypervisor
You, being an IT guy, must be aware of Virtualization and must have had created VMs too on OS level hypervisors like Oracle’s VirtualBox or VM Ware. These type of Virtualization is achieved on the top of Host OS i.e. Windows, Linux or Mac. However, in this post, we’ll be going to see a Bare Metal Virtualization in which, there will be no middle OS between Hypervisor and Hardware. Yeah, you read it correctly. We will directly deploy a hypervisor on Hardware and there will be no OS. which can help us achieve more Stability, Scalability, and Security in developing a Virtualized Environment.
Before we proceed with the actual installation, we need to check on some pre-requisites. You must have ESXi ISO in bootable format, either Bootable DVD or Bootable USB Drive. I assume you have a physical machine in which you can install ESXi. If you don’t have the ISO of ESXi, you may download it from VMWare website here.
1. Insert a bootable DVD or USB Drive and from your system’s boot menu select the bootable device in which you have ISO of ESXi.

2. Hit Enter on the welcome screen to continue the installation.

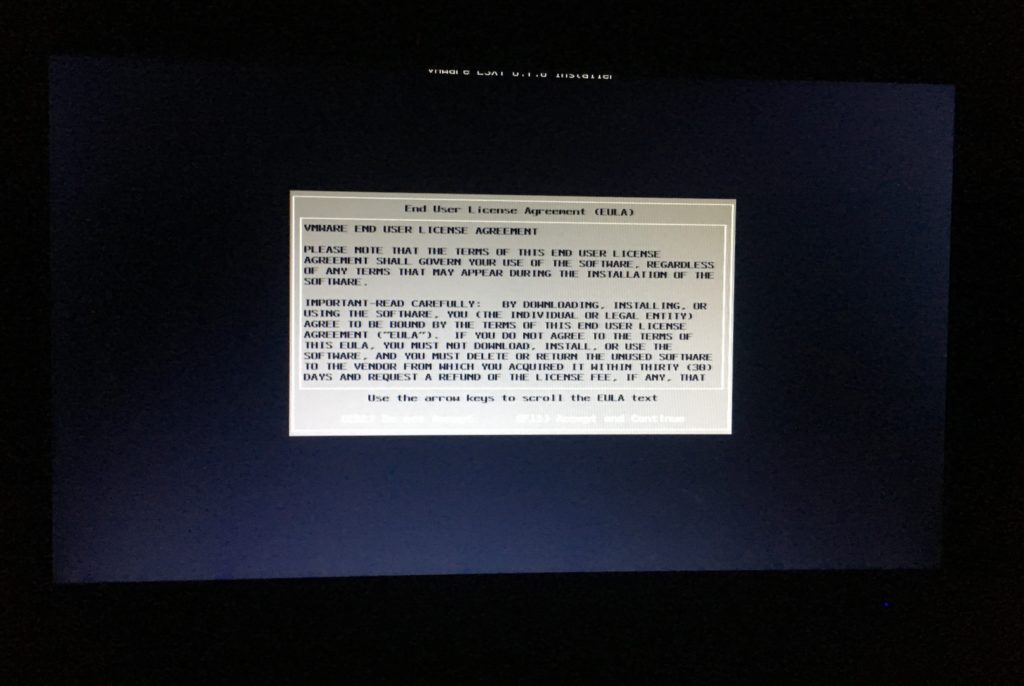
3. Accept EULA (End User License Agreement)
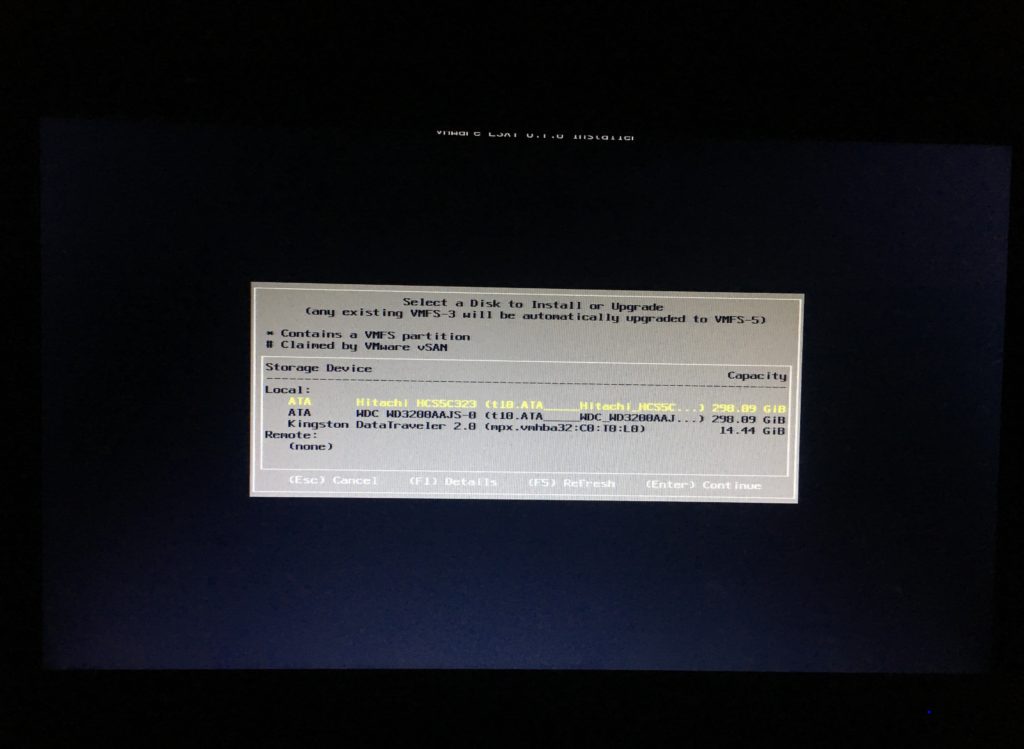
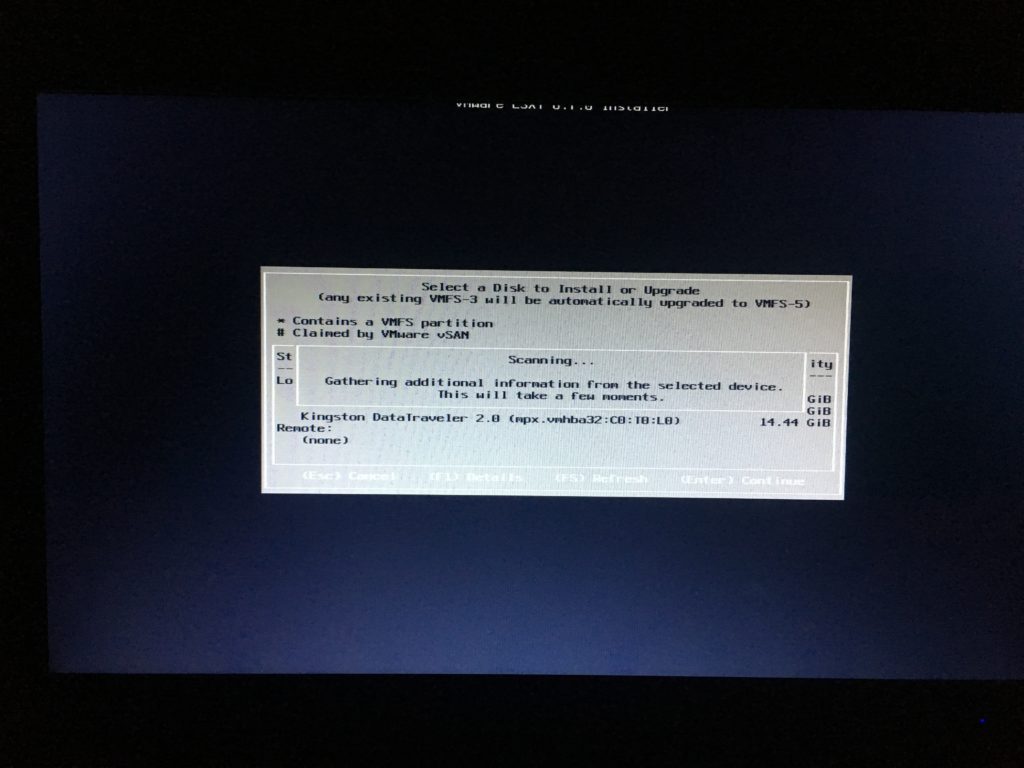
4. Select a disk where you want your hypervisor to be installed.
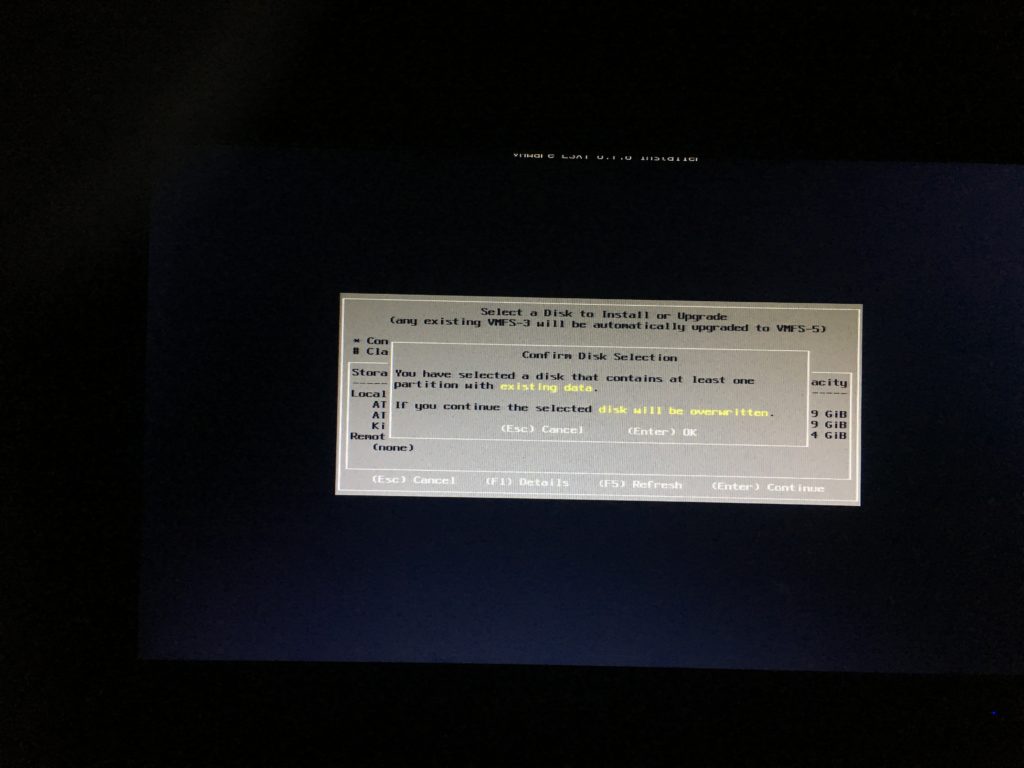
Confirm Selection.
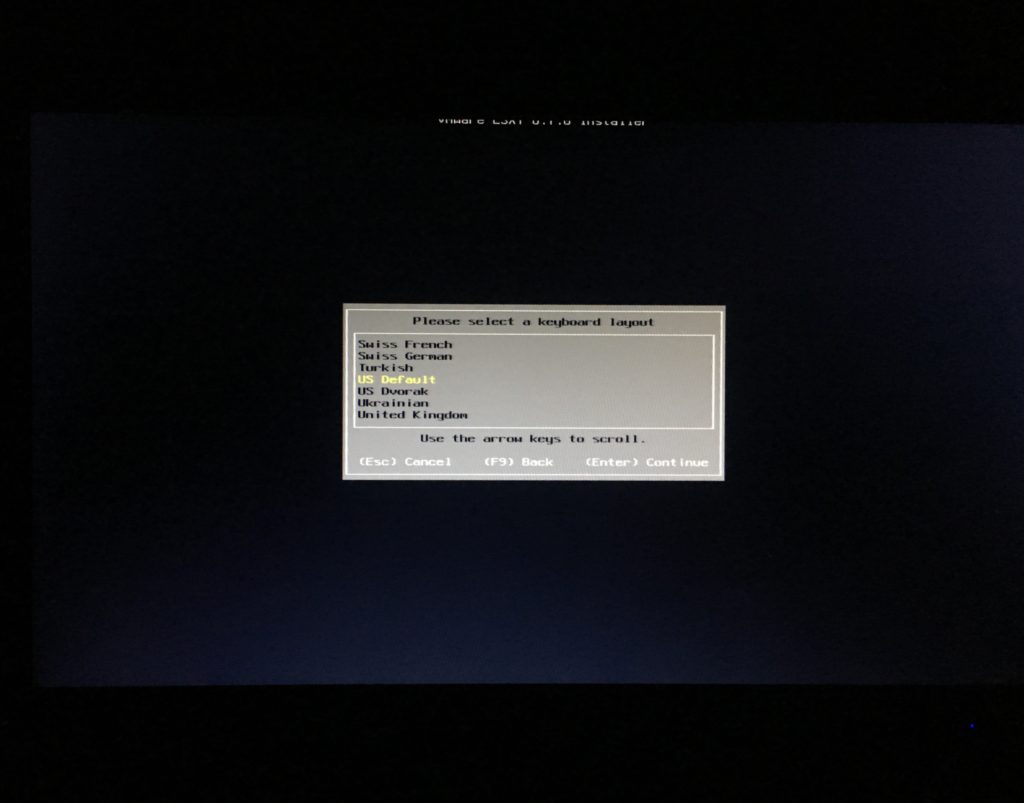
5. Selecting Keyboard Layout, Keep the default one i.e. US & Hit Enter.
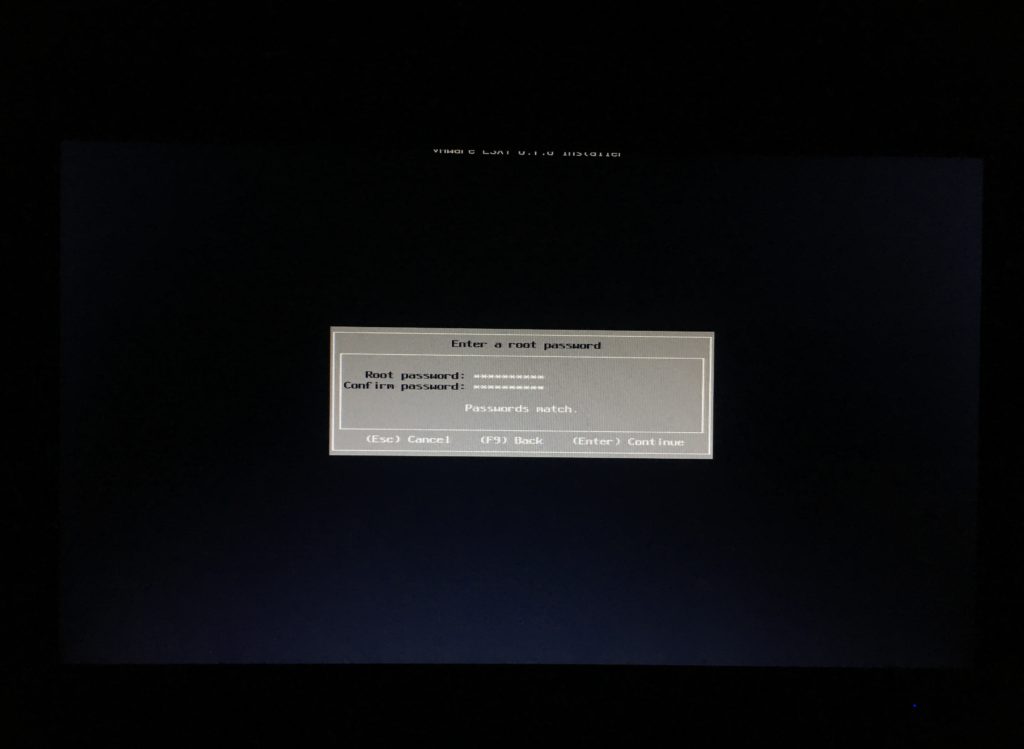
6. In this screen, you’ll have to set a password for the superuser which is root. Make sure you set a strong password for root user, as this user will be able to perform all administrative tasks of this Virtualization Server.
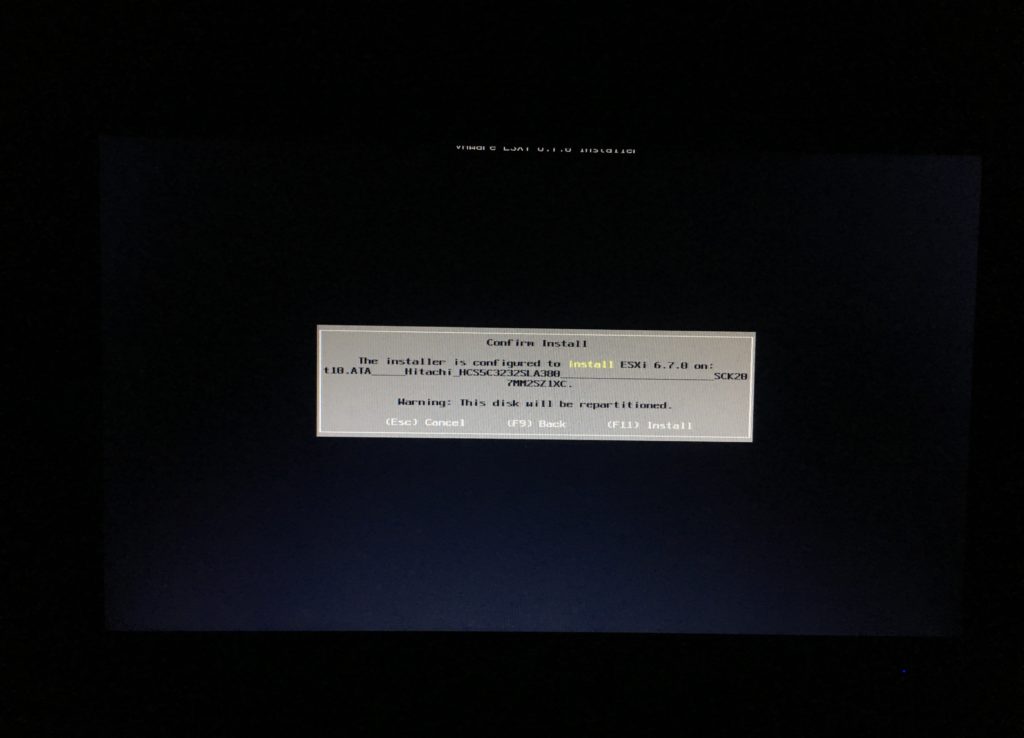
7. Confirm install by hitting the F11 key. Verify the installation disk before confirming.
There you go,
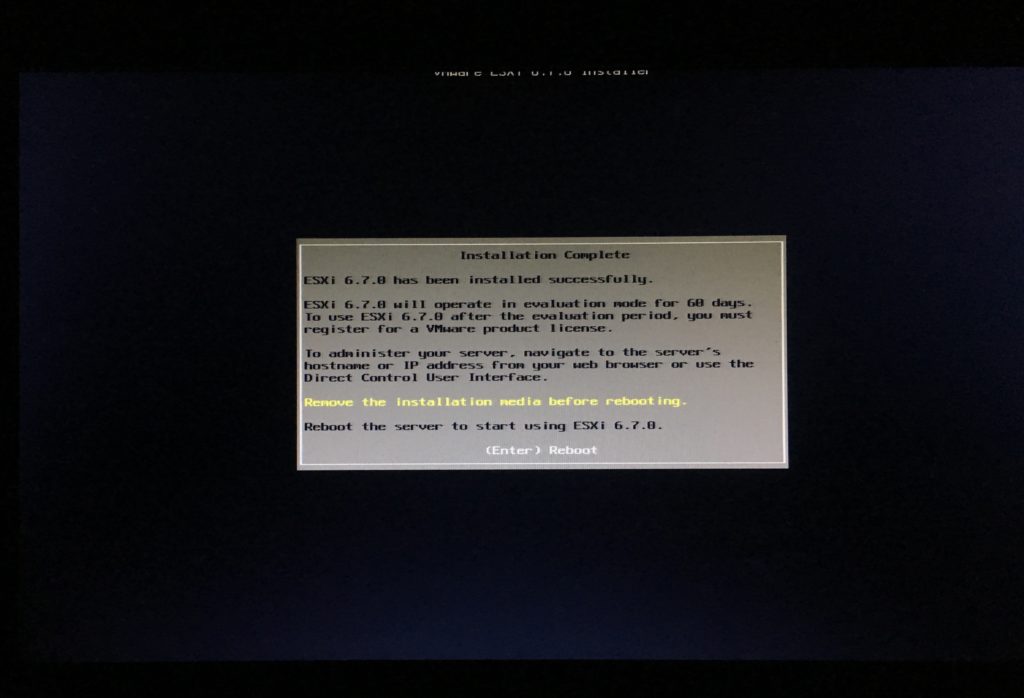
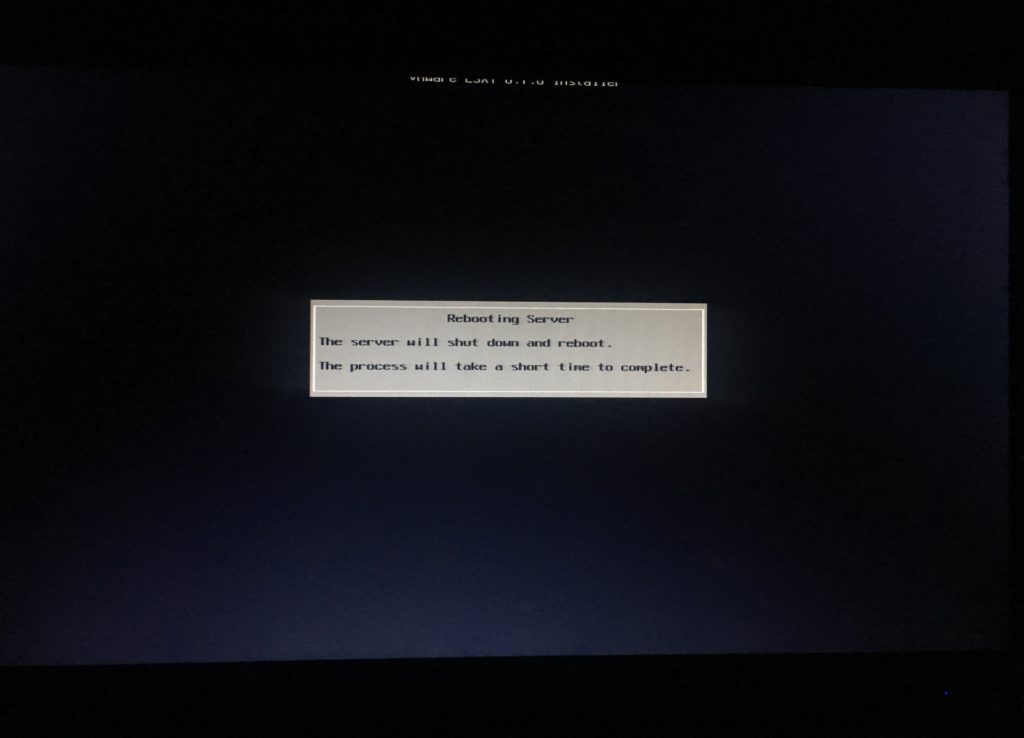
Installation is now complete and it’s time to reboot the server before we can make use of it. Just make sure you remove installation media before you hit (Enter)reboot.
Your Bare Metal Virtualization Server is ready to deploy VMs now.
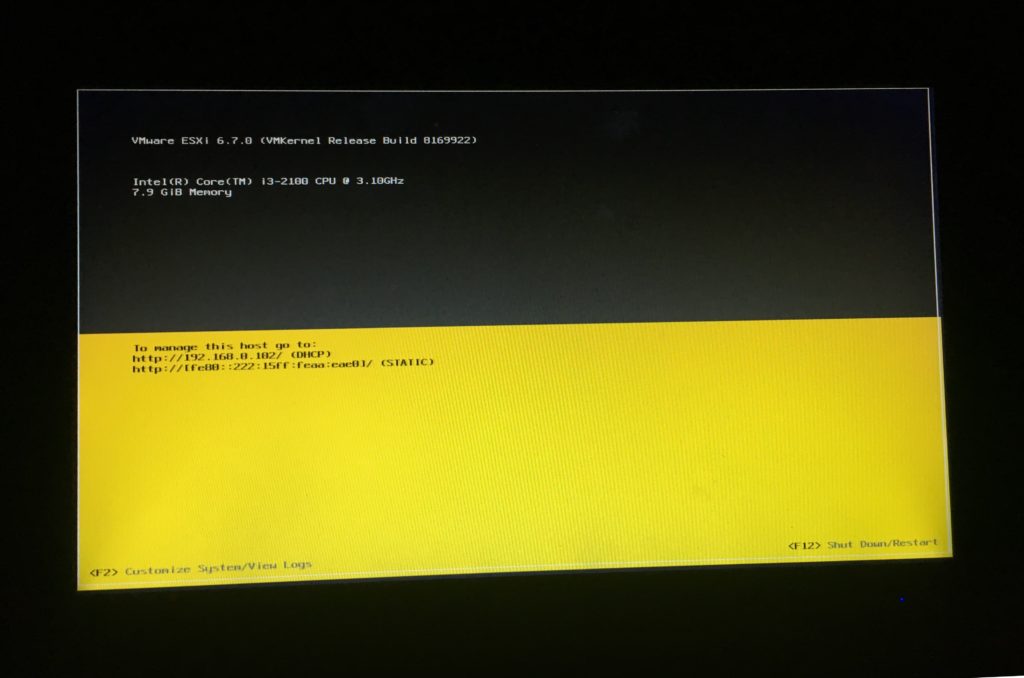
You Now can go to the Address it shows with Http in any Flash Enabled web browser to manage this Virtualization Host
In coming posts we’ll see how to deploy VMs on ESXi, Server Stay Tuned, Share with your friends and Colleagues. Do let me know your thoughts on this article in the comment section.
Listen to Podcast of this post, available on :
good one. thanks for sharing.