

Creating & Deploying Virtual Machine on ESXi Server
Creating VM is not rocket science in ESXi and it is quite similar to creating VMs in any hypervisor like VM Ware or VirtualBox. In the last article, we did deployment and configuration of ESXi Server on Bare-Metal machine. In today’s article, we’ll deploy a VM on ESXi Server with Oracle Linux 7. Here I assume that you already have ISO of Oracle Linux(or any). If you haven’t downloaded any, get Oracle Linux here.
1. Login to ESXi’s Web client by entering IP or a Hostname of your ESXi Host.

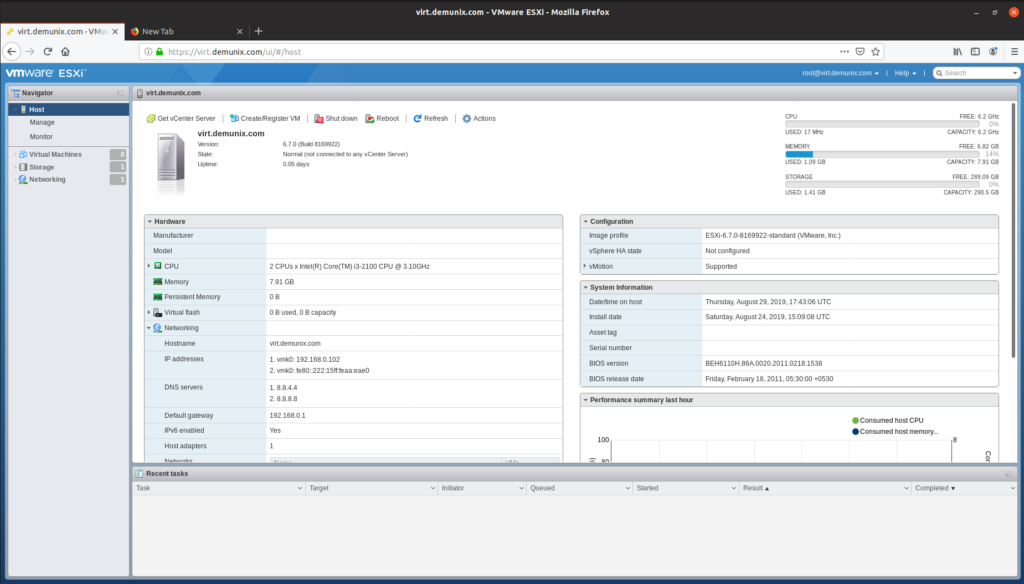
So now, as we’re logged in to ESXi Web Client, we can manage this environment from within this console. Upload your ISO to this host to proceed with the installation.
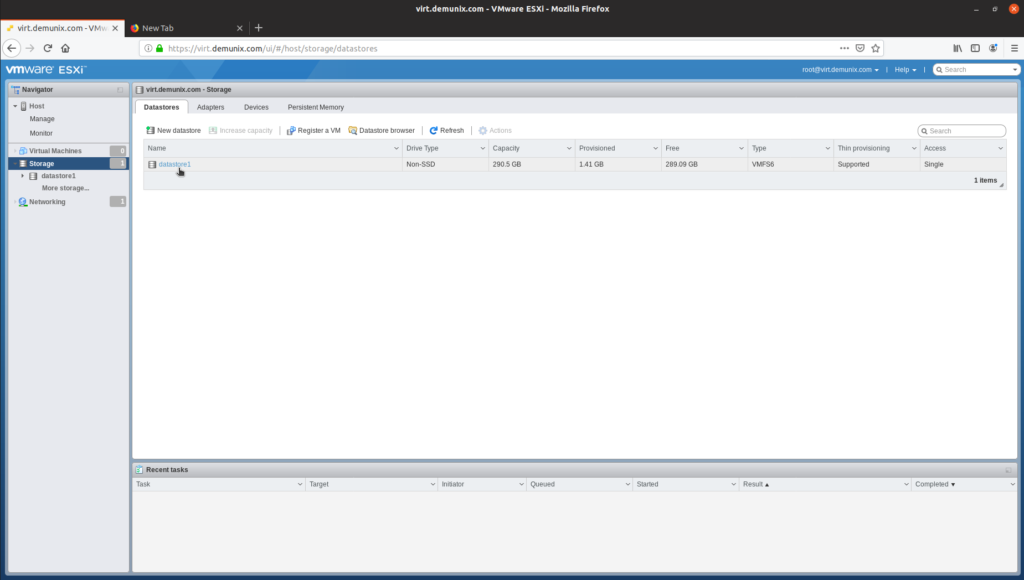
2. Click on Storage.

3. Click on datastore1.
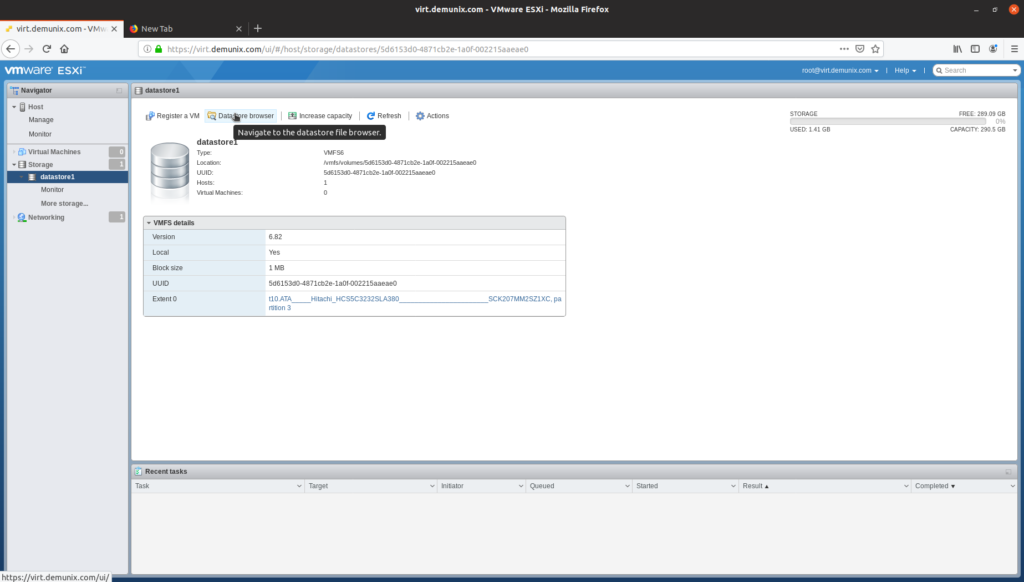
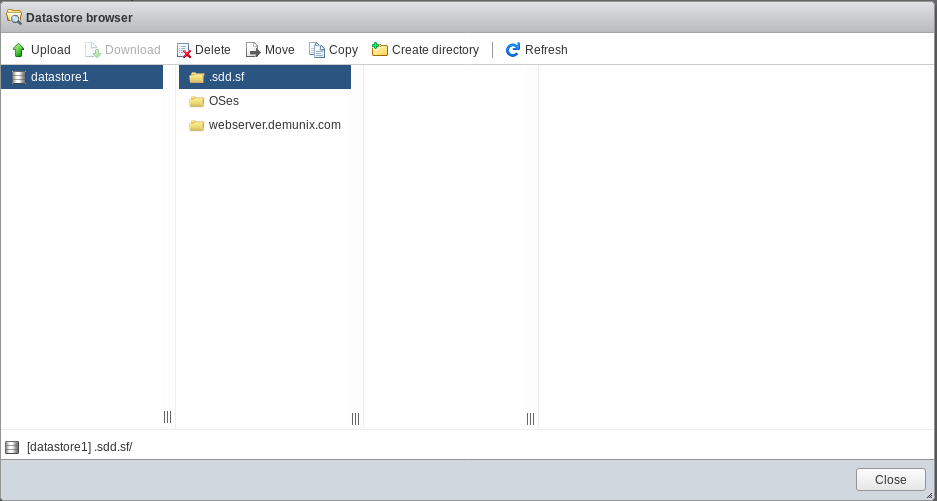
4. Click on Datastore Browser.
5. Click on Upload to upload an ISO file.
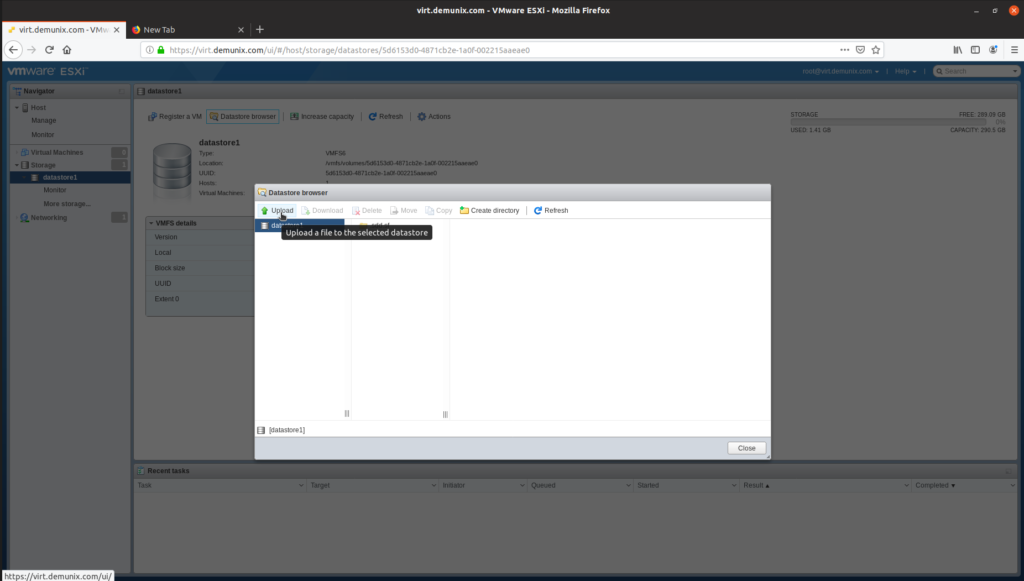
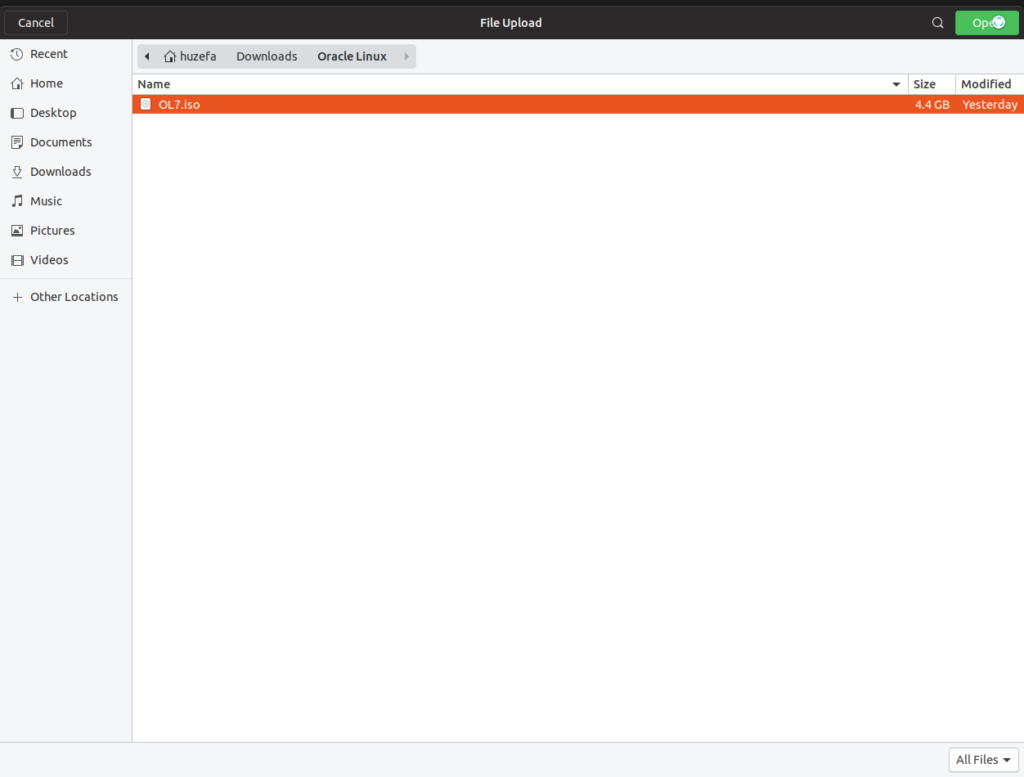
6. Select an ISO and upload it.

Once ISO file of your guest OS is successfully uploaded to datastore1, we’re now good to proceed with the VM Creation. But before we proceed, make sure that you create a separate directory for OSes. in datastore on ESXi. Do also create separate directory for multiple VMs. For eg. here we’re deploying a webserver so I named my VM as webserver.demunix.com. So for this VM, I already have created a separate directory with the same name on datastore1.
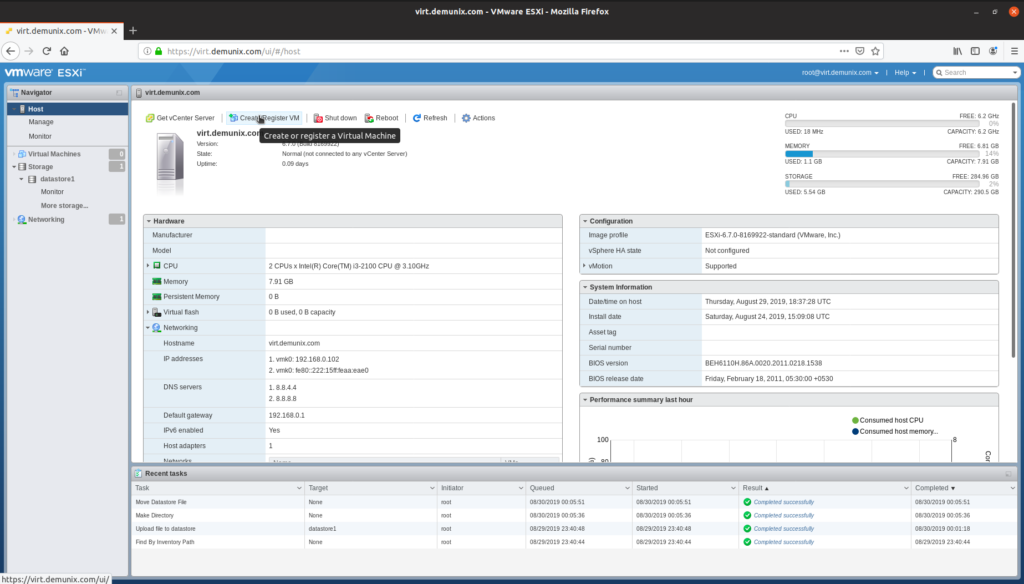
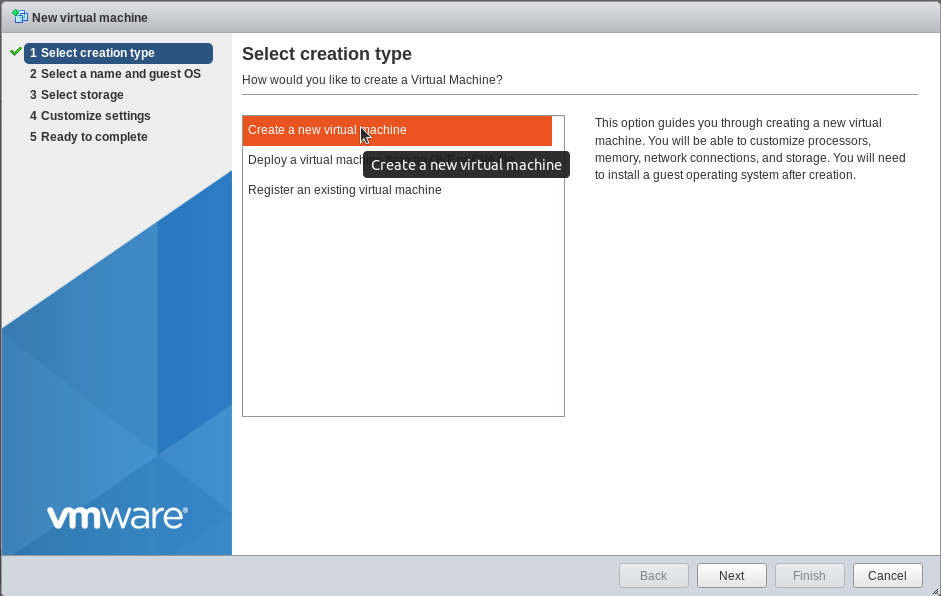
7. Click on Create/Register VM and you’ll get a VM creation wizard. In this wizard’s first part click on Create a new virtual machine, you can also deploy a virtual machine from OVF or OVA file, Or Register an existing virtual machine in this wizard.
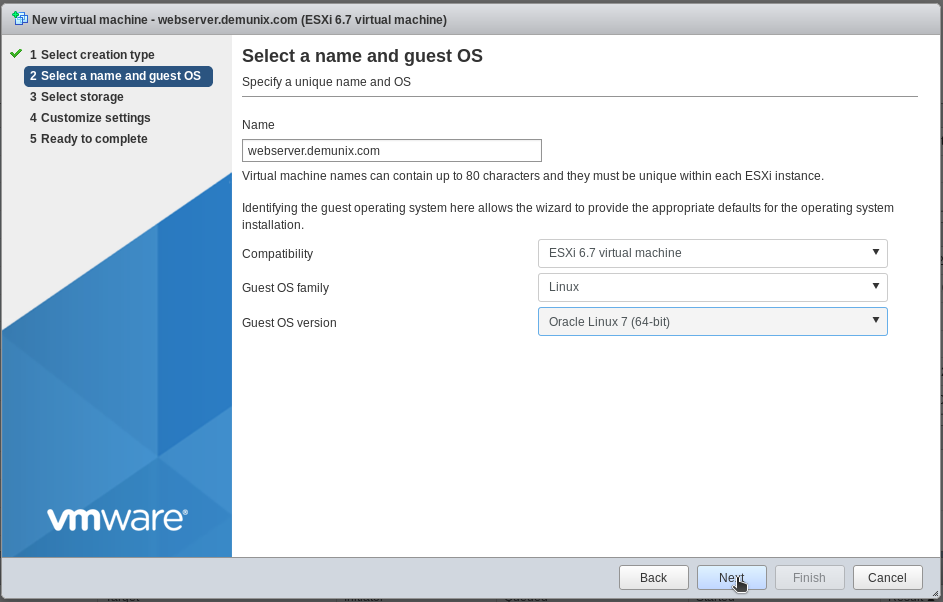
8. Name your virtual machine, Select Compatibility(keep as it is if you’re creating fresh VM which is Enterprise Linux 6.x and above), And select OS family and OS version.
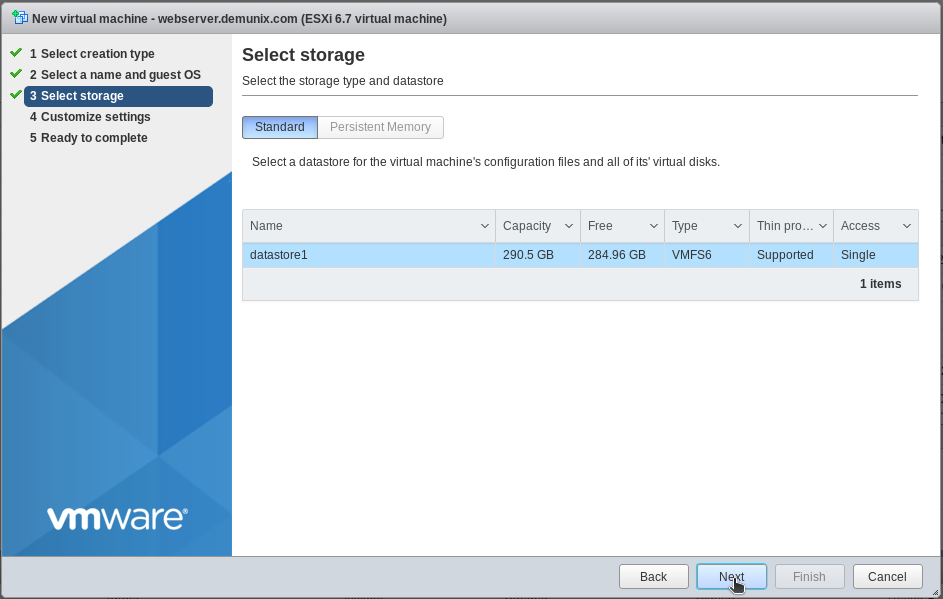
9. Select datastore1. as storage.
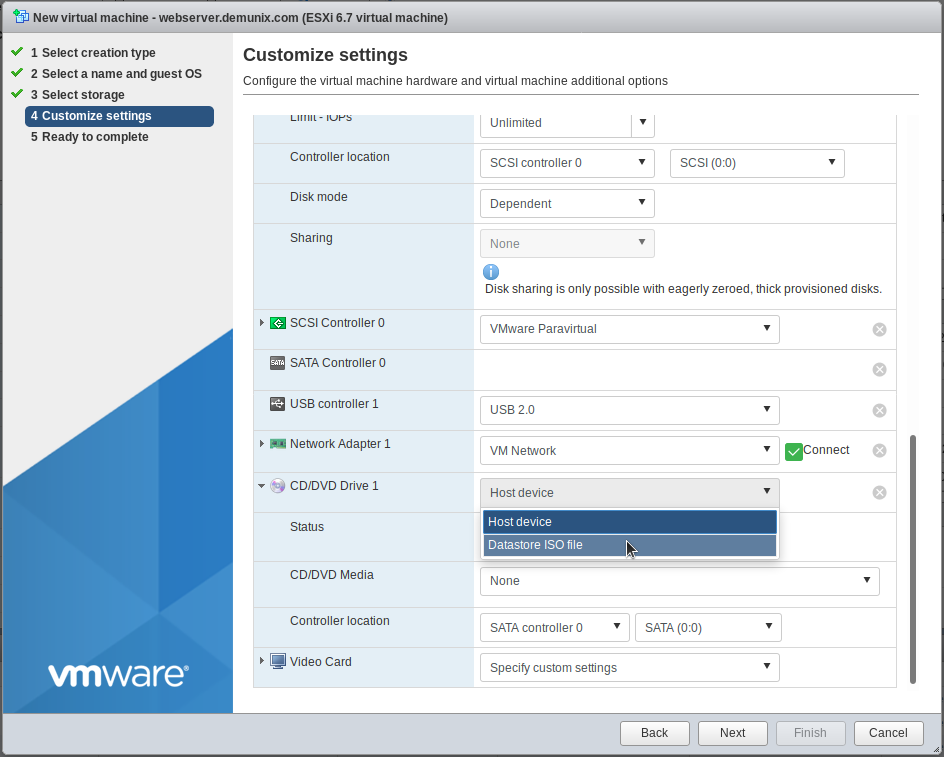
10. Assign CPU, RAM, Storage Capacity and Location(You can select your created directory by clicking on Browse).

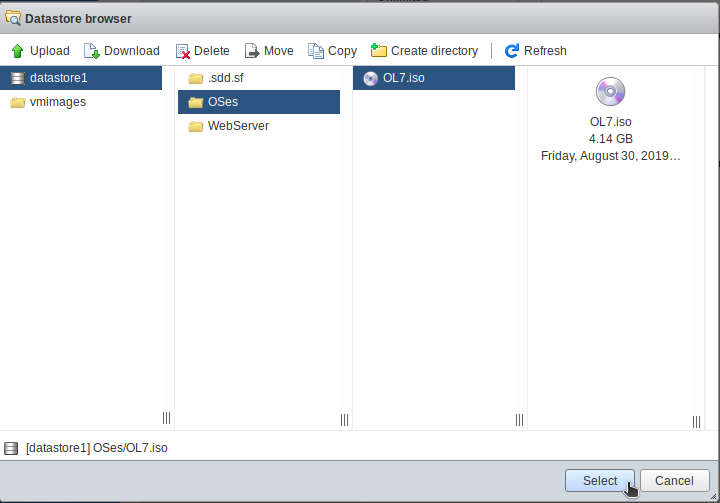
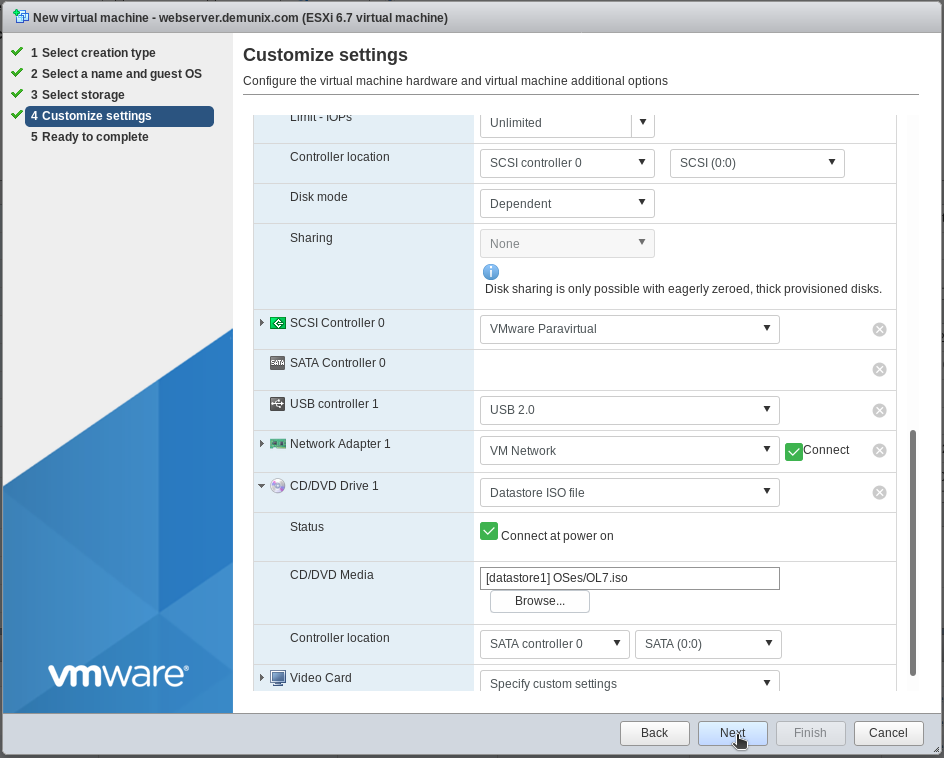
11. Select ISO of your image from datastore, And any other additional Hardware if needed.
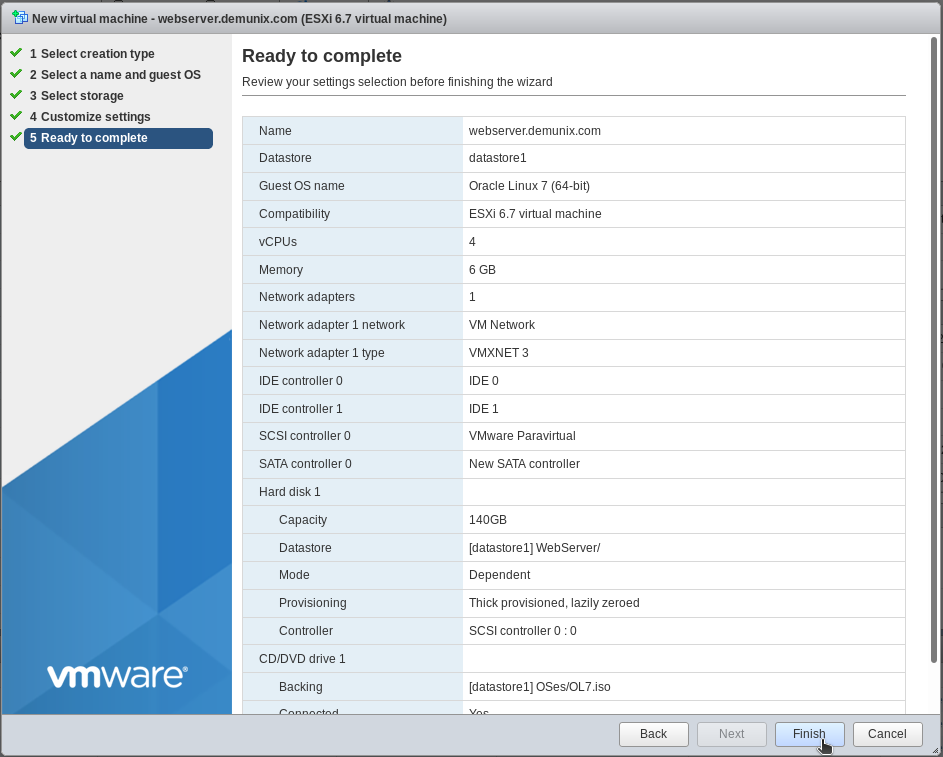
12. Verify your selection from Summary page and click on Finish.
There you go. The VM is now created.
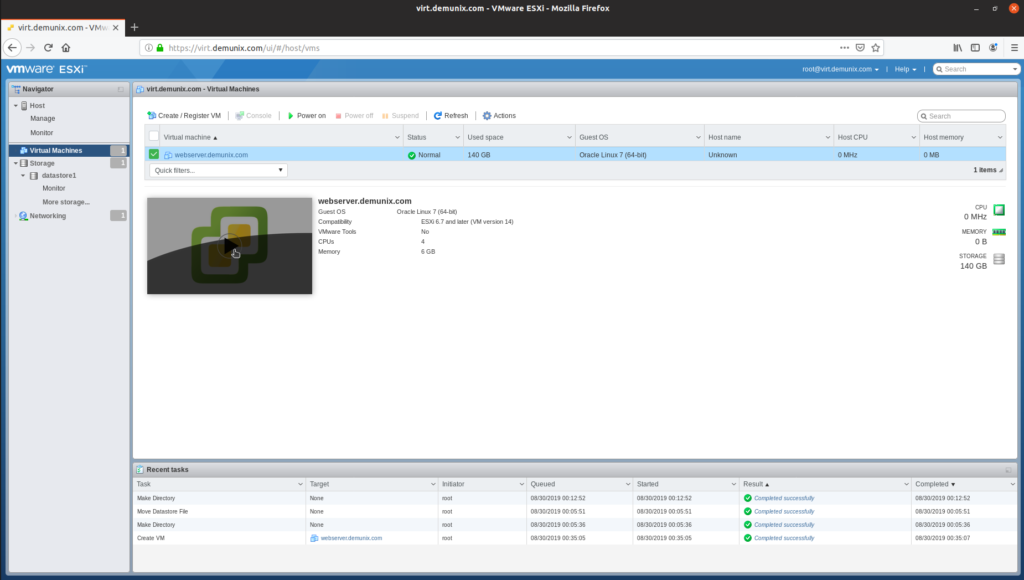
Click on the Play icon to start this guest and begin the installation of Oracle Linux 7.5. We’ll do this in next post
Listen to Podcast of this post, Available on :
Peace 🙂