

Configuring Oracle Linux 7.5 for Web Server
Web Server could be of different types. By different types what I mean is, they could be setup to serve different type of environments based upon the programming languages used to develop a Website or Web Application like Java, php, .NET and many. Oracle Web-Logic or GlassFish(Open Source) server can be setup for Java EE based Website, Apache httpd or Lighttpd(Open Source) server can be setup to serve php based Website or Application, or IIS can be setup for .NET based application. Basically Web Server is a computer to host Website or Web Application with higher physical resource to serve thousands of millions of requests to access the Website.
So in this post, we’ll setup a Web Server using Apache httpd binaries. Which can be later used to deploy any php based Website. In this demonstration I have used Oracle Linux 7.5 to configure Apache Web Server. I’m using Virtualized Environment for this deployment. I have already created and configured VM in ESXi which can be found here. I’ll directly begin installation part now.
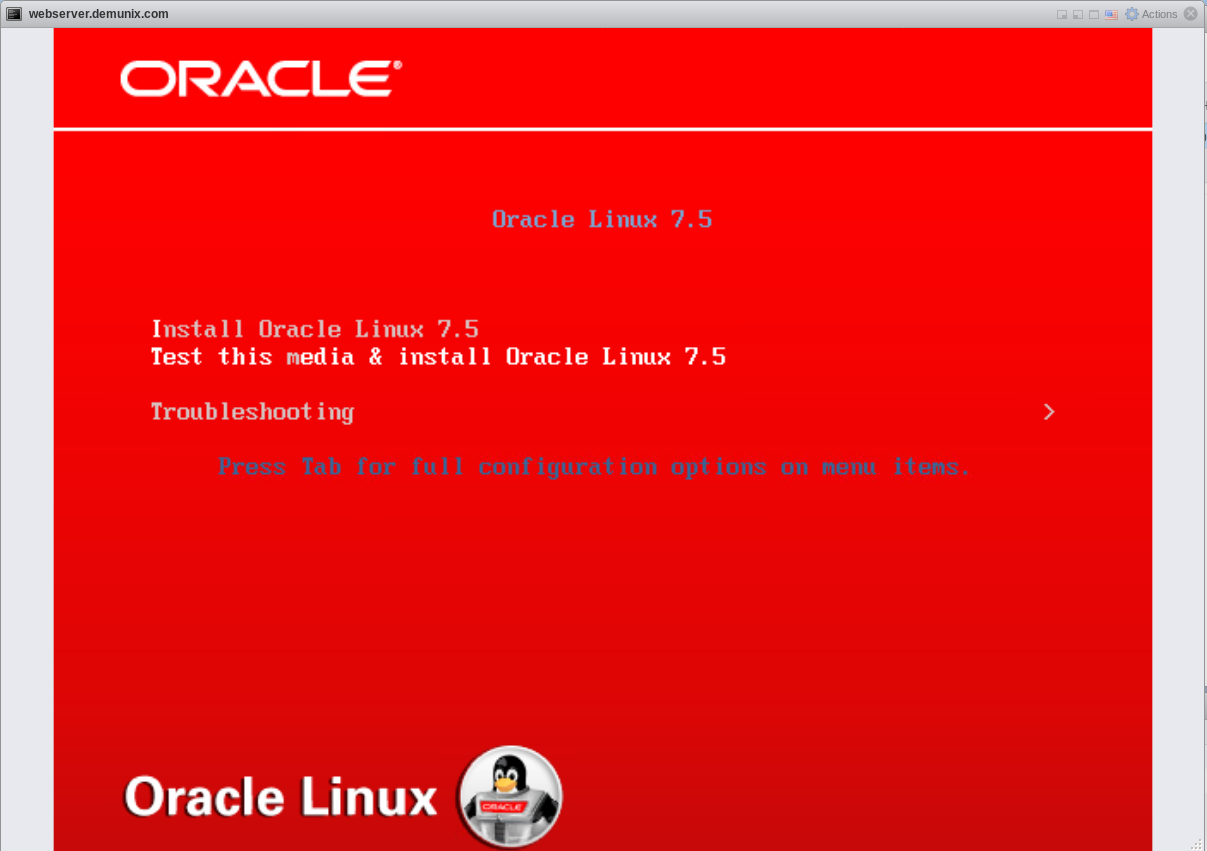
1. Booting-Up the OS.
Once the Operating System booted up from the installation media you can select to Install OL 7.5 by selecting first option i.e. Install Oracle Linux 7.5. You can also test the media before beginning the installation or can troubleshoot already installed OL7.5 to fix up crash.
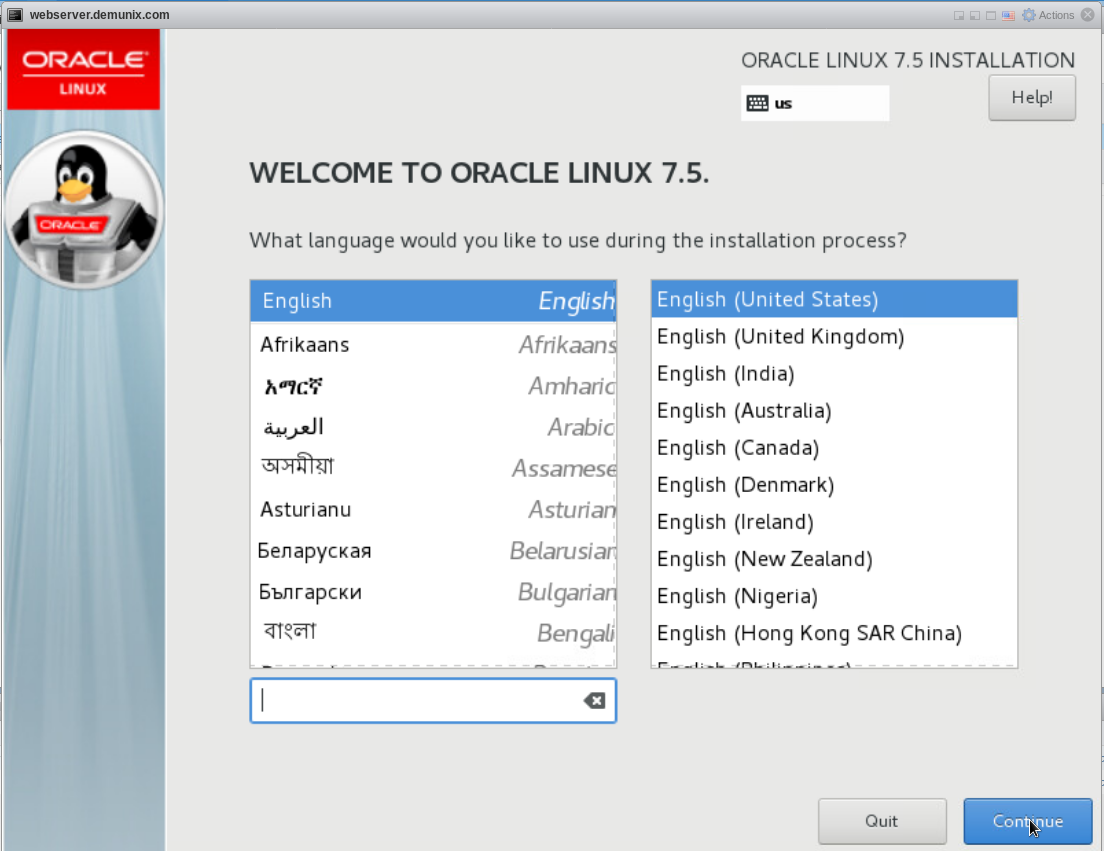
2. Select language.
Here you’ll have to selection the language of installation.
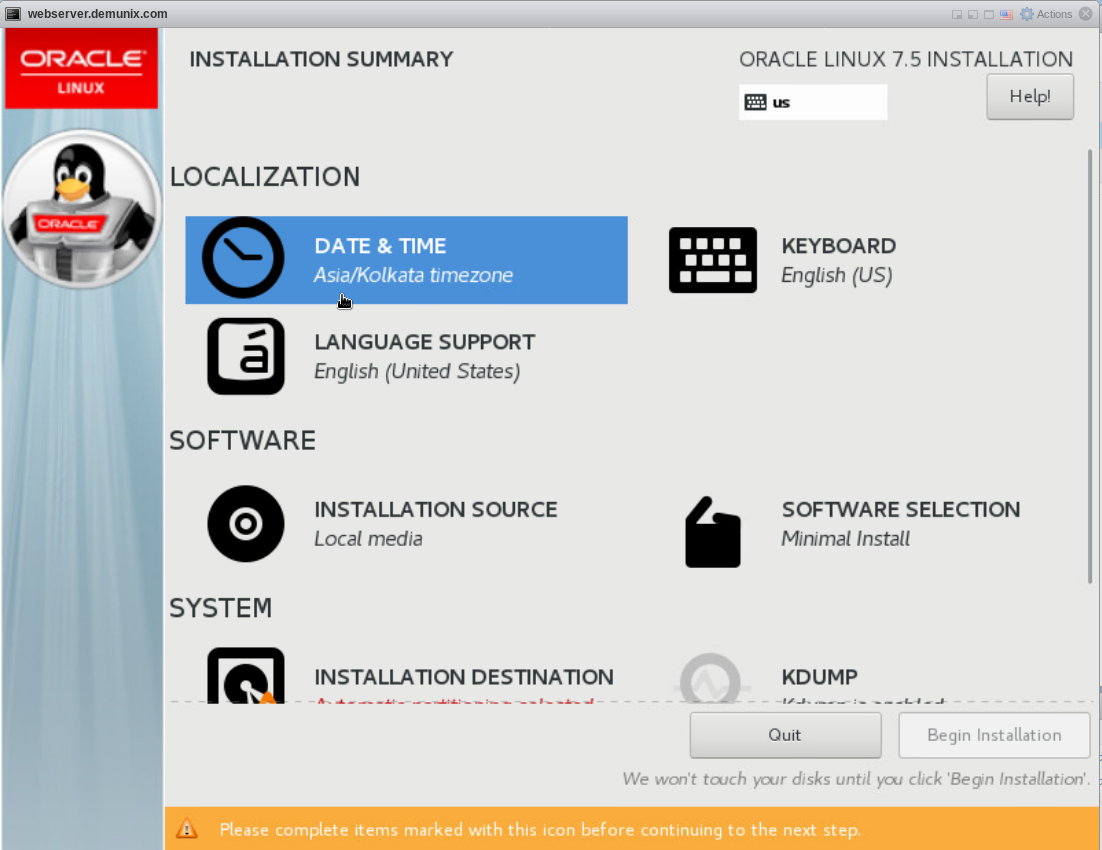
3. Click on DATE & TIME to select your timezone.
In this option you can select your timezone from across the globe. You can find your local timezone from drop down list or from the World map. You can also choose to set time over network by activation ntp (Network Time Protocol).
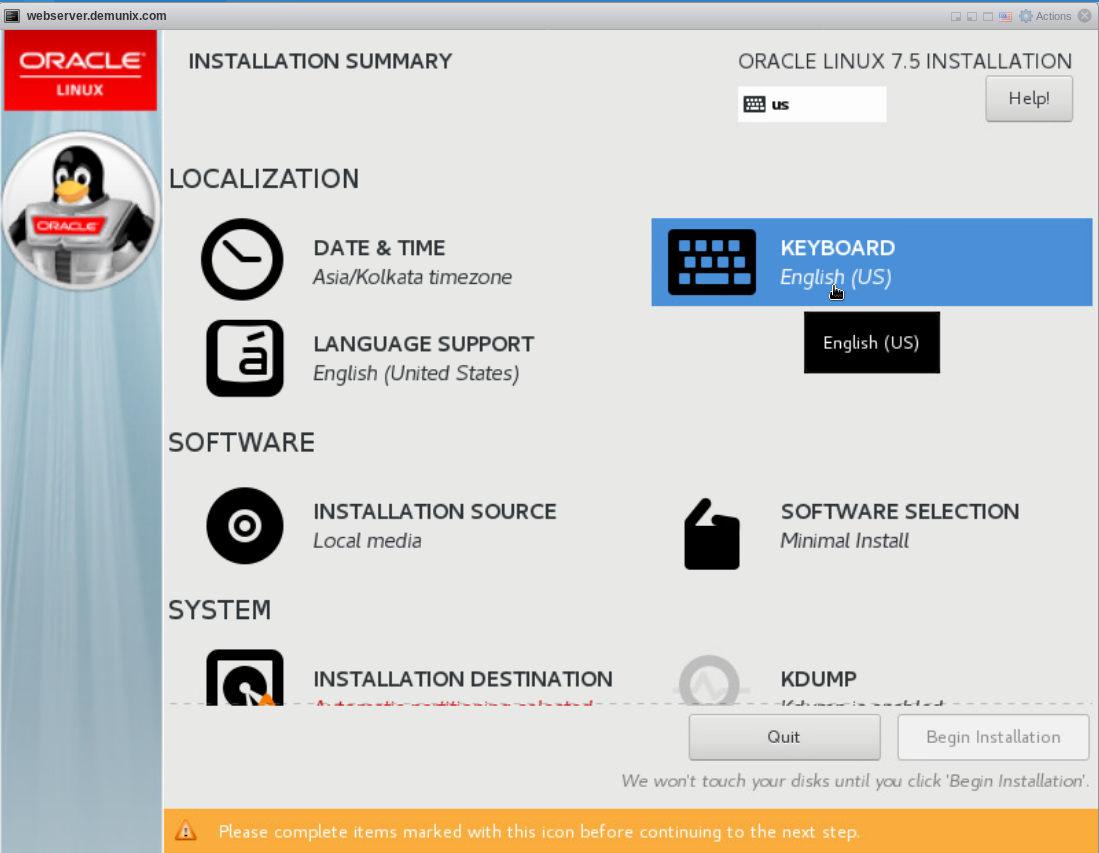
4. Select KEYBOARD layout.
You can select the layout of your keyboard in this option. English US will be pre-selected by default.
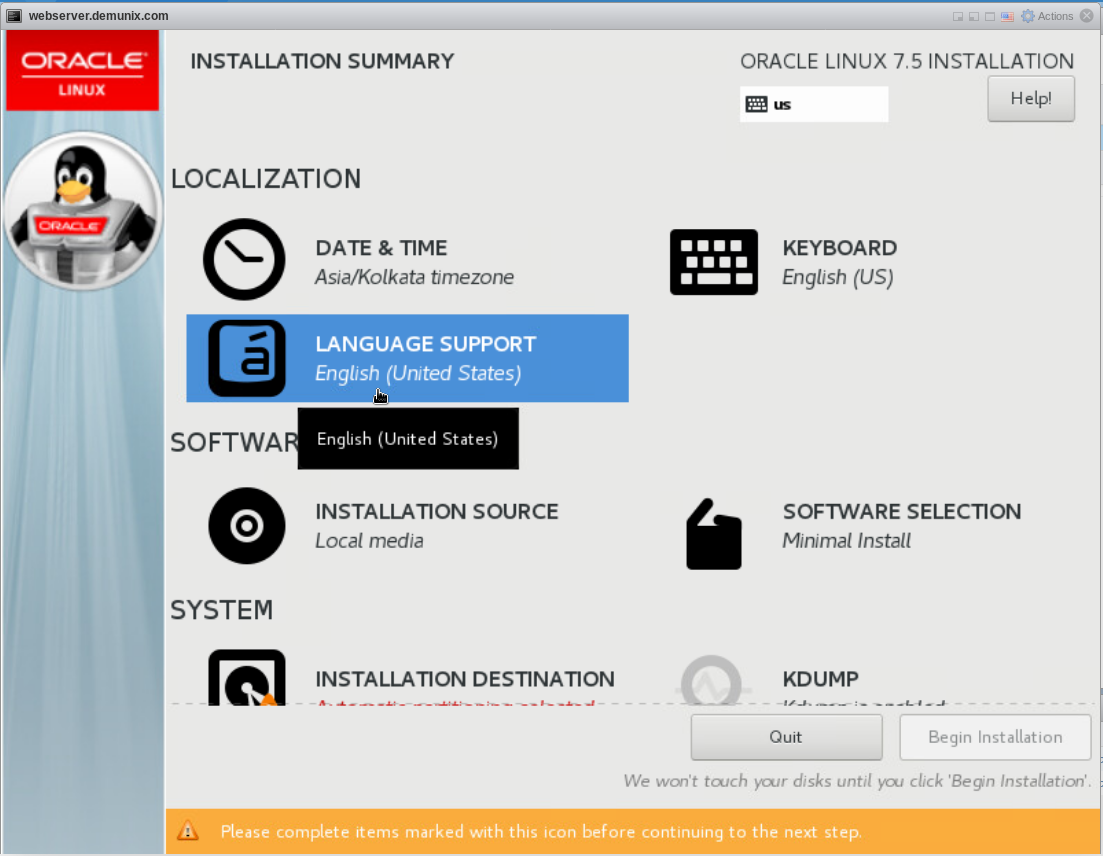
5. Select LANGUAGES which will be supported by your installation.
In this option you’ll have to select languages you want your server to support. This option is different from the one which we have selected in step 2. Languages which you’ll select from the list will be supported by your server.
6. Select installation source.
You can have more than one Operating System in you installation media, May be of different version or different flavor. So in such cases you’ll carefully have to select the correct installation source for the OS you’re trying to install.

7. Click on SOFTWARE SELECTION to select software/packages/binaries that you want to include in this installation.
In this option your can select the software/packages/binaries you want to include in your installation. You can select which type of installation you want from the left side. And after selecting type of installation your can then eve select other packages manually.
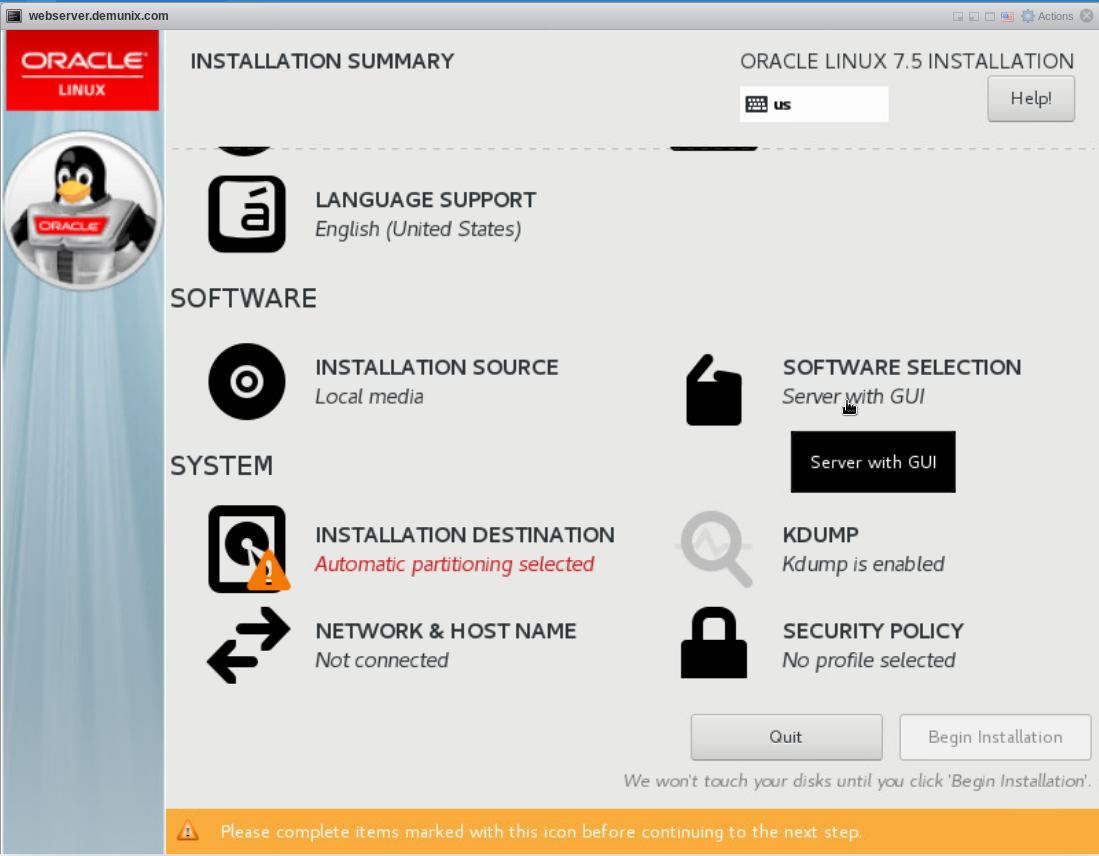

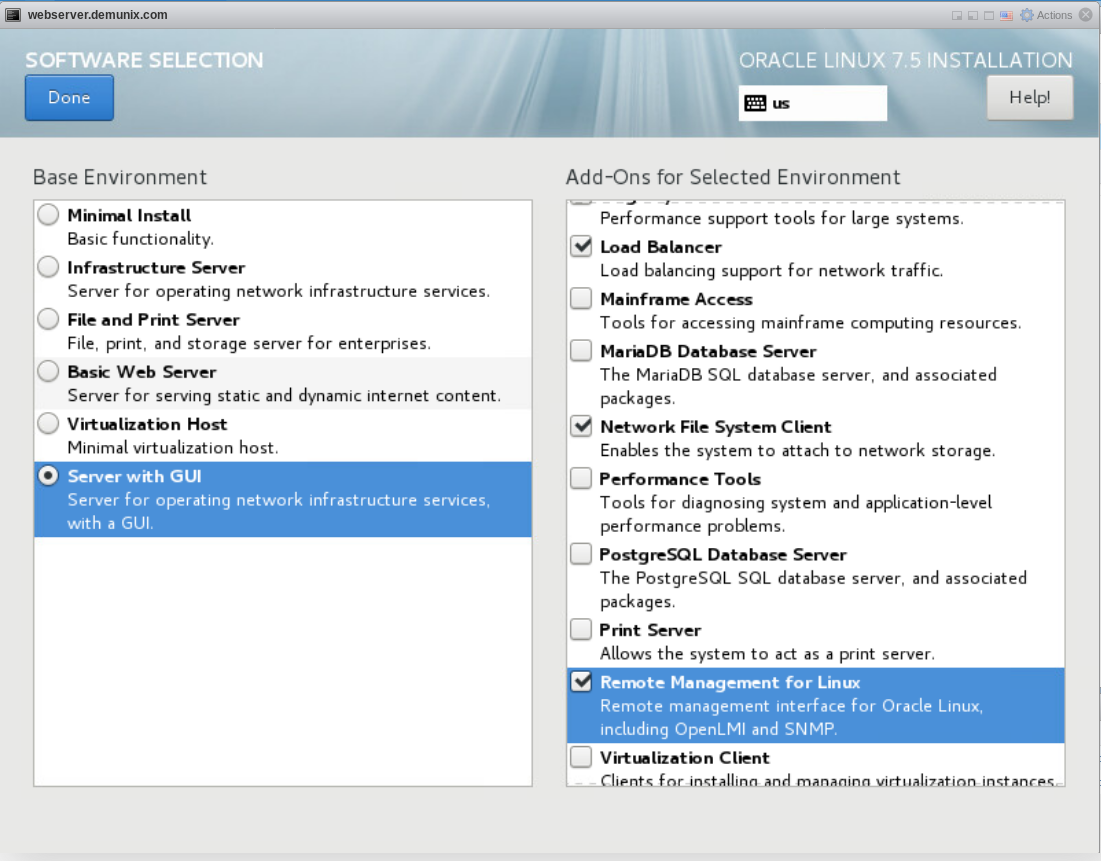
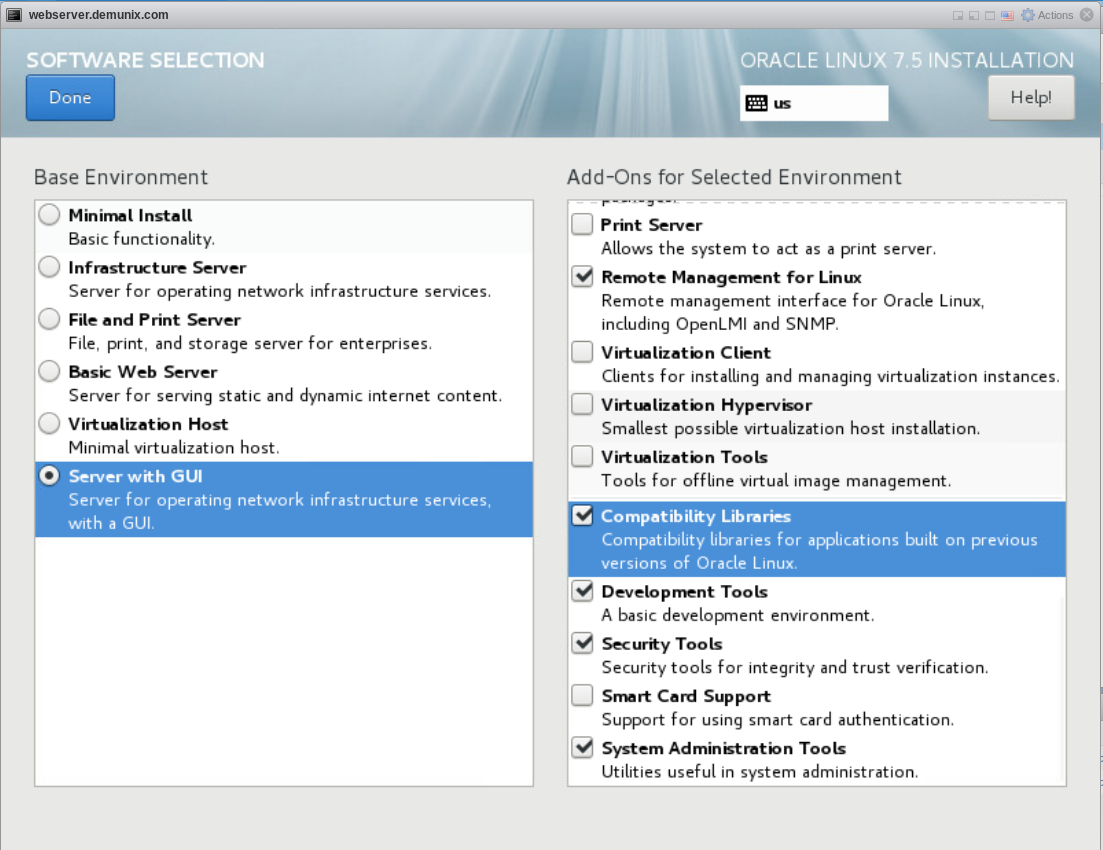
I have selected server with GUI options and rest of the packages manually. After the selection of packages, installation wizard will check if the dependency packages are available for the selections or not.
8. Select the location on your hard drive where you want to install the OS. Here I have selected Automatic Partitioning. If you want to customize your storage model, you may want to checkout this article.
In this option you can design storage of your server. If you’re an advanced user, your can also setup NAS or SAN storage.
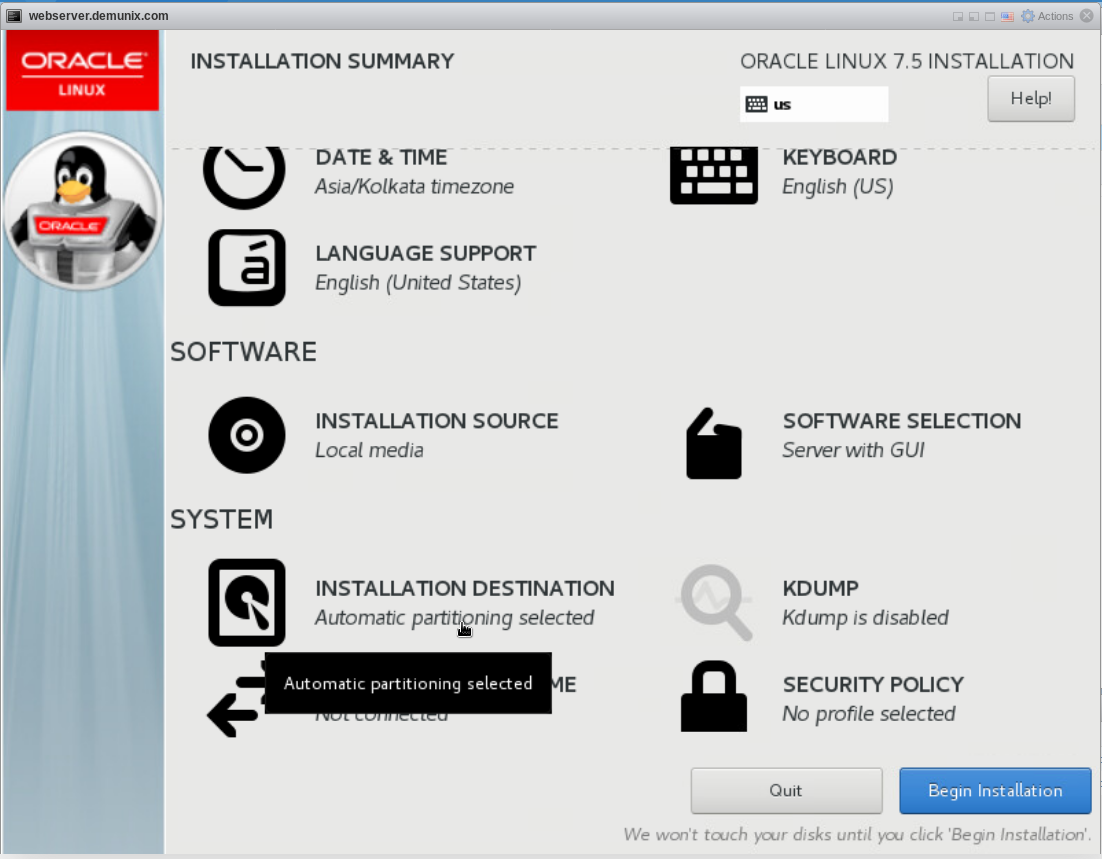
9. Kdump is used to store crash details in event of server crash. I’ll disable it in this demonstration as this is not a production server.
Kdump GNU/Linux utility to log crash reports in case of server crash. If this is enabled, then wherever your server crashes, data related to crash will be dumped in kdump so that in can later be used to find the RCA.

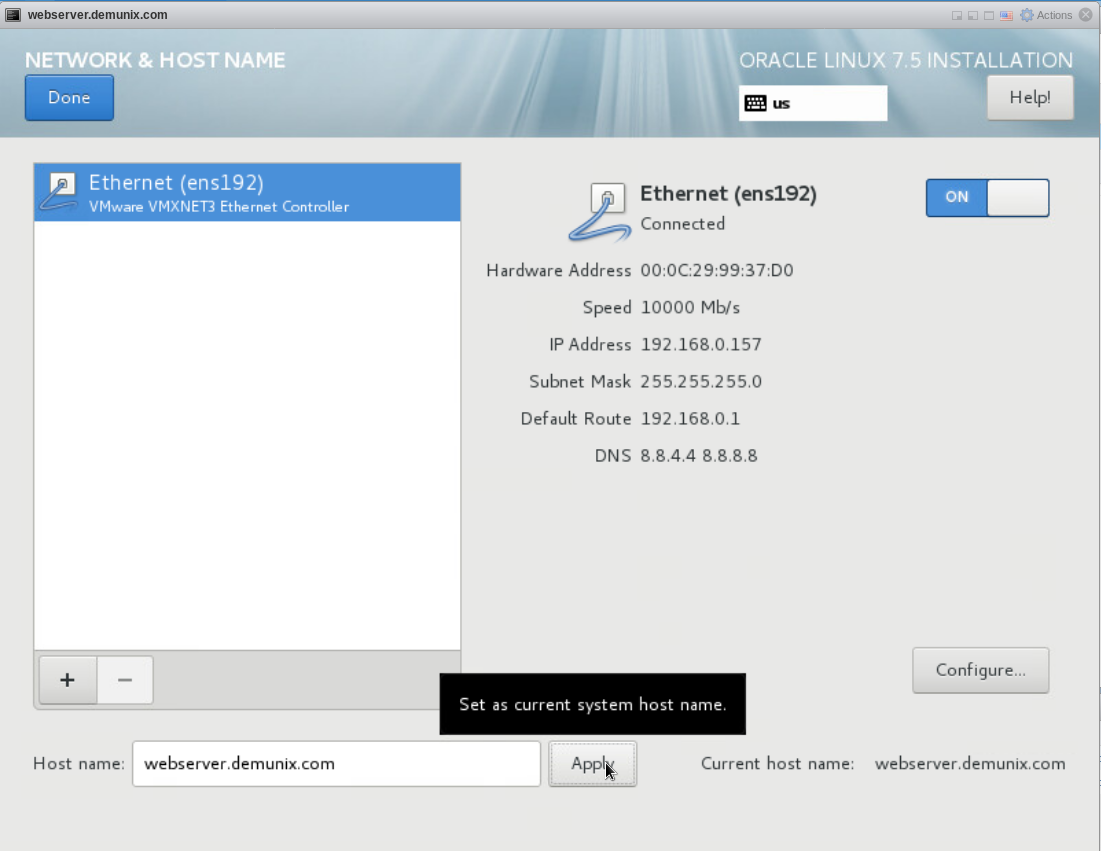
10. Click on NETWORK & HOSTNAME to configure network.
In this option you can set hostname of your server, you can change IP and other network related configuration. Type hostname and click on apply button and enable network by toggling ethernet On.
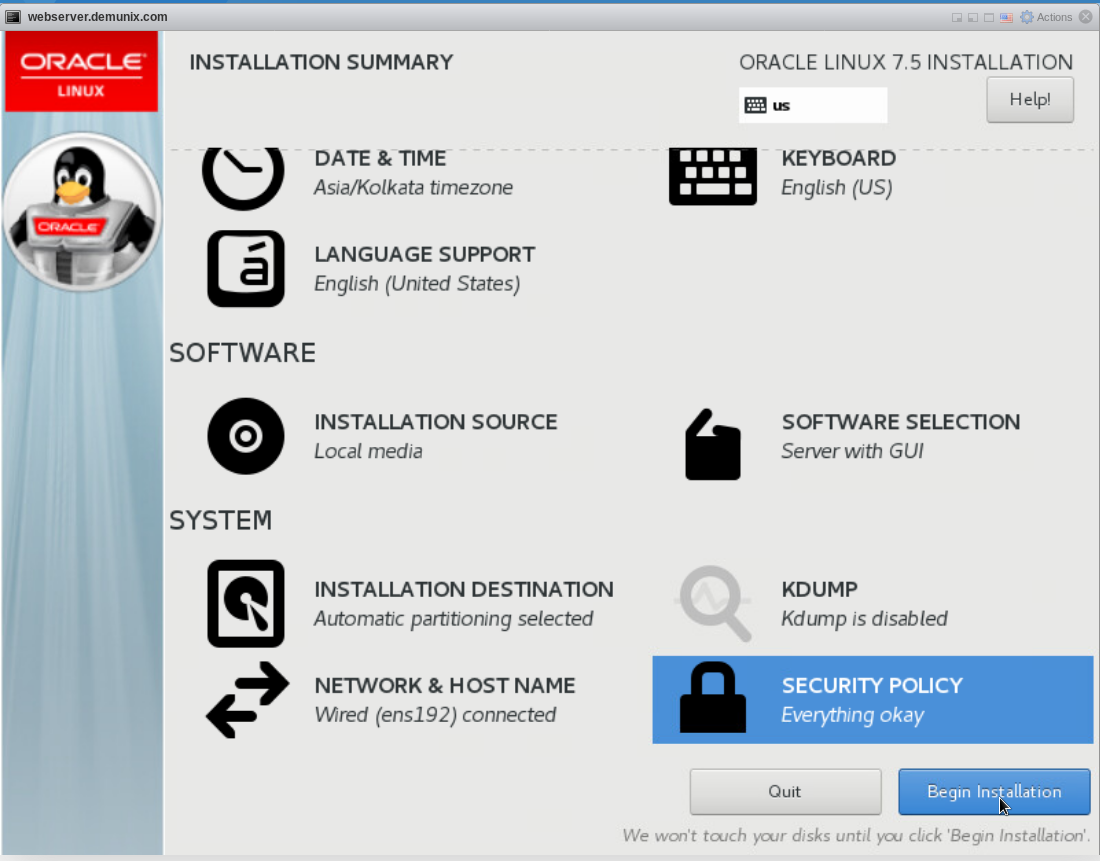
11. Click on security policy and select the suitable one from the list.
In this option you can select the Security Policy you want your installation to have. Select the best security policy that matches your need .

12. Once you’re done with selecting Security Policy, you’re good to Begin Installation.
After the all above selections, now your are good to begin the actual installation.
13. As soon as you click on Begin Installation button, installation will be initiated. I
When wizard passes dependency checks and begins the installation, you will then have to set a password for root and create other non root user.
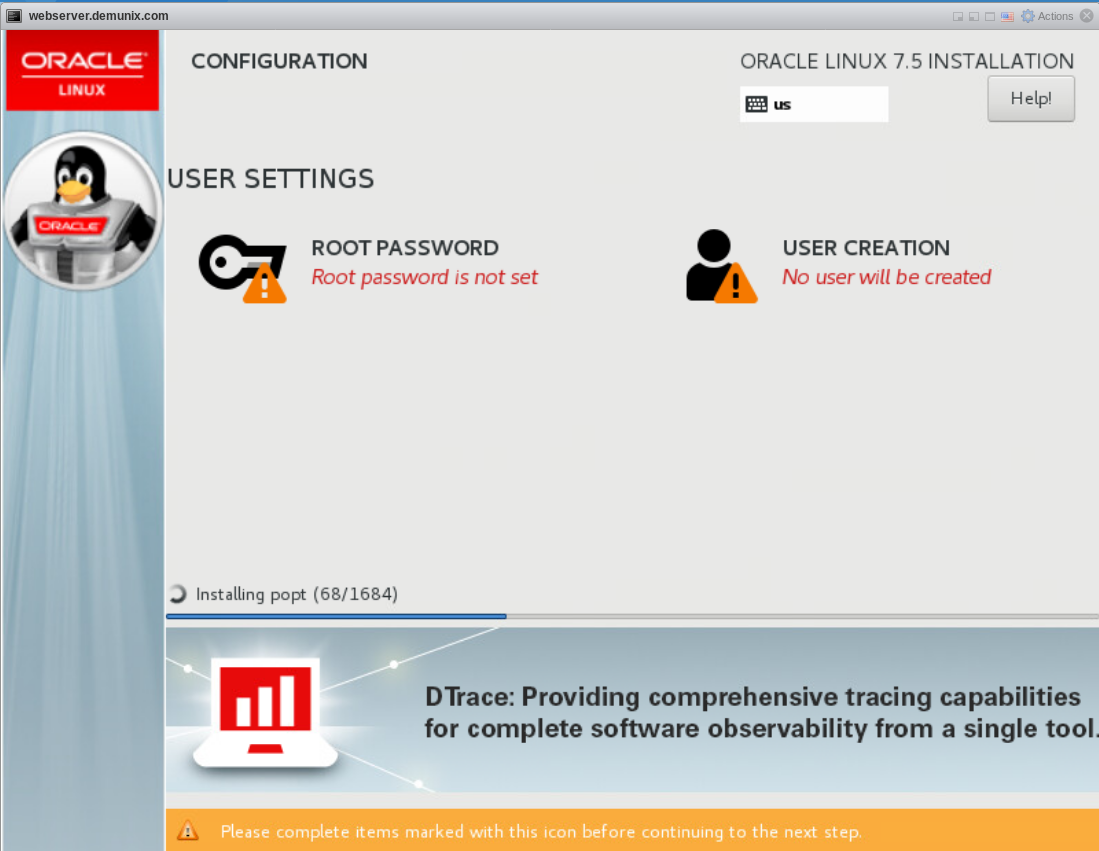
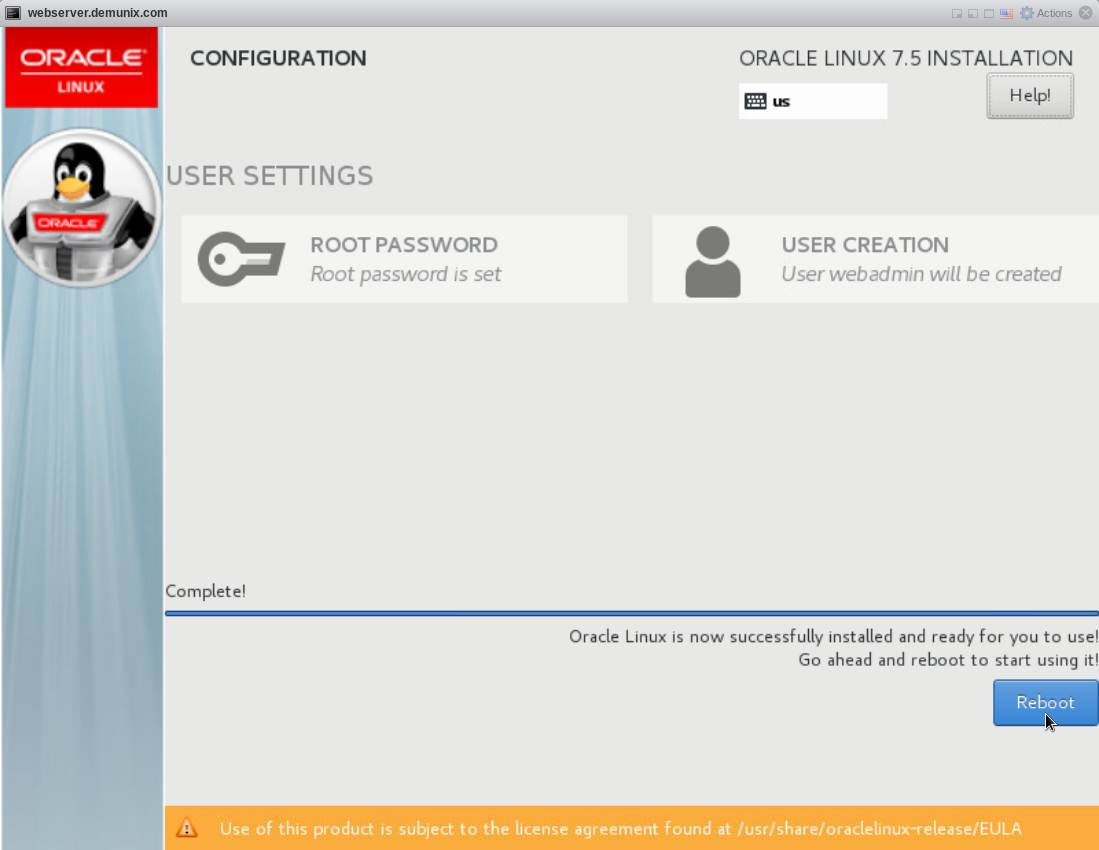
14. I have set a root password and created a user named webadmin who will manage the web server.

15. Once the installer finishes installing all the selected packages, it will ask for reboot. Click on reboot to proceed further.
16. After the reboot you’ll have to accept EULA. Click on LICENSE INFORMATION to accept EULA.
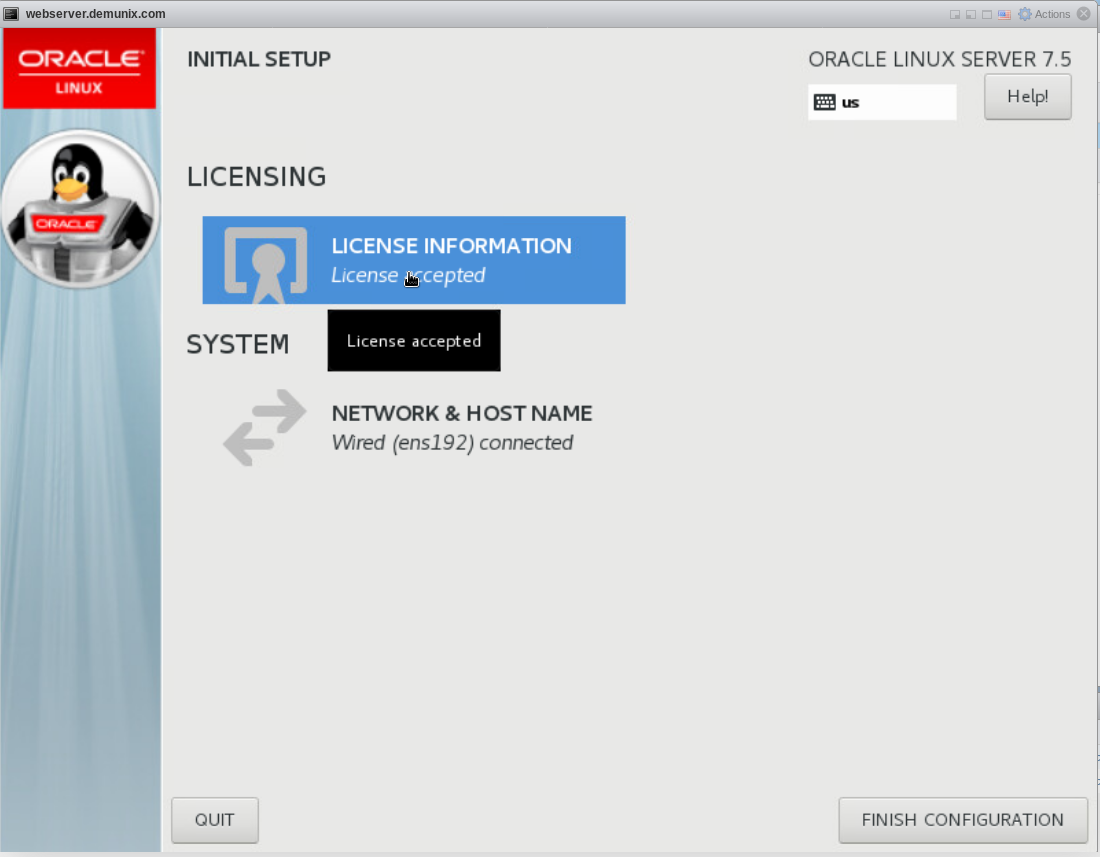
After accepting EULA, click on FINISH CONFIGURATION button.
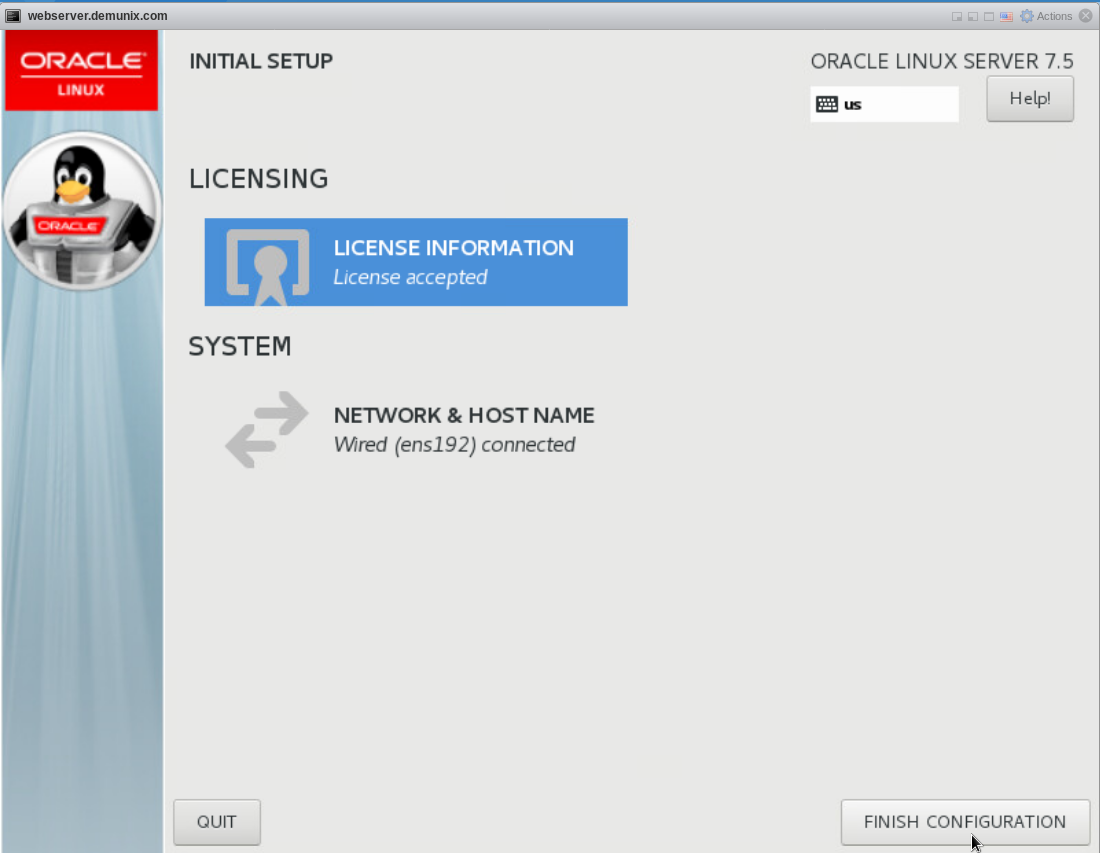
There you go. Installation is now completed. Now you can login to your server.
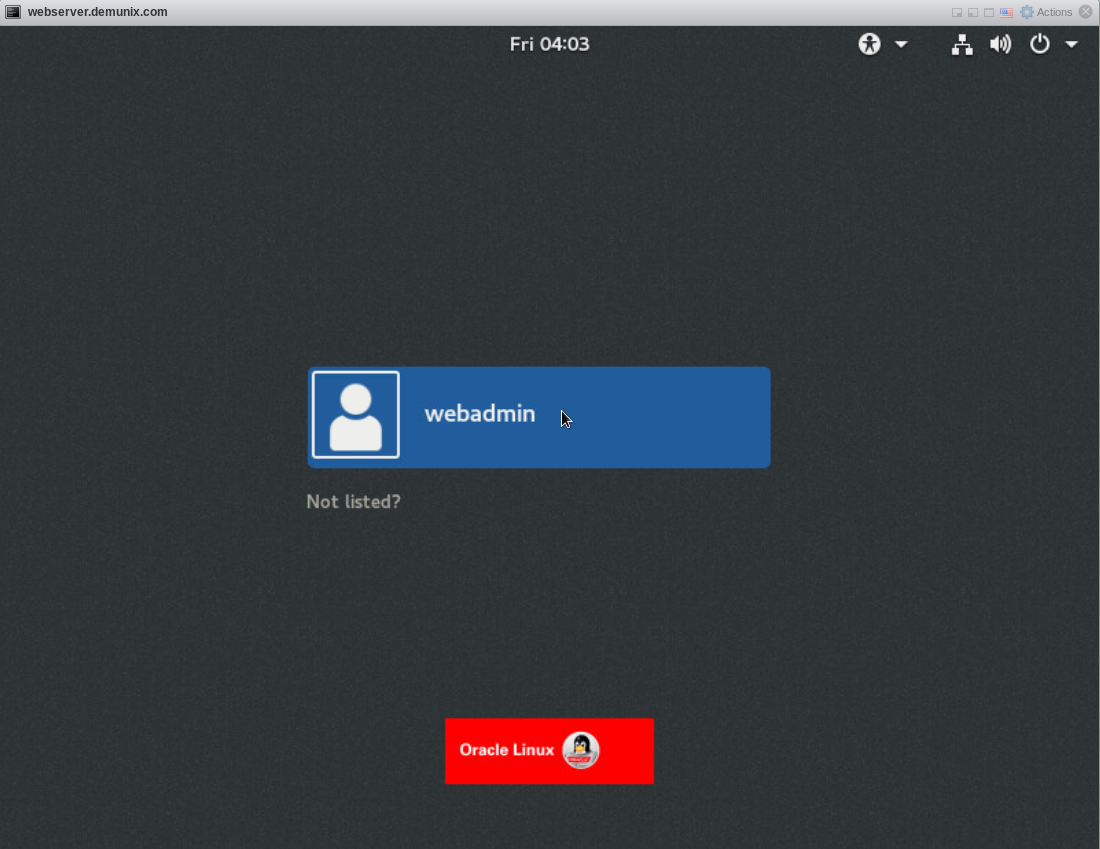
17. Login to the server.
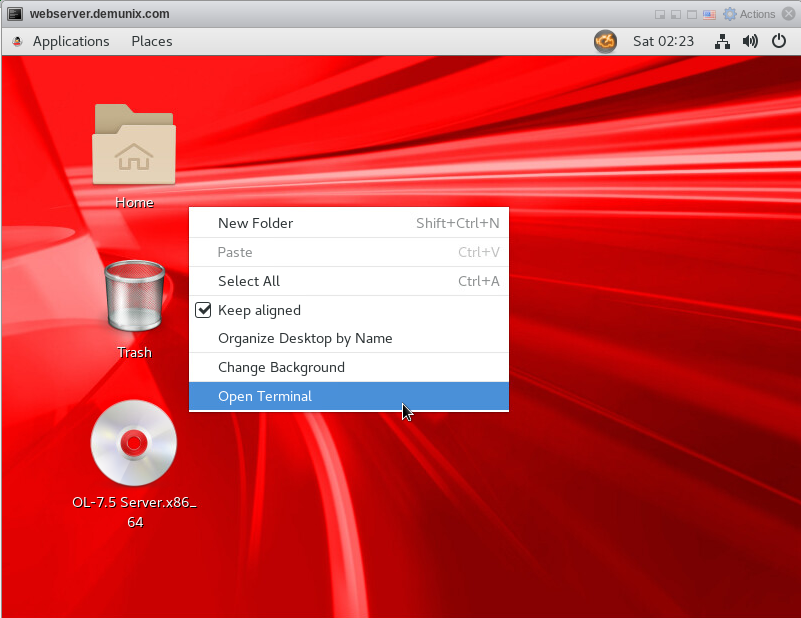
18. Right click on desktop and open terminal.
19. Switch to root user to update all the packages.
The one, should always consider updating the server packages right after the installation. Possibly, there will be an update on the packages which you’ve installed.

Use below commands:
Switch to root user.
[webadmin@webserver ~]$ su

Password:
Update packages.
[root@webserver webadmin]# yum update
When yum completes all the updates, it’ll produce output with the details of packages which are Installed, Updated & Replaced.
Installed:

[List of the packages installed.]


Updated:

[List of the packages updated.]

Replaced:
[List of the packages replaced.]


Complete!
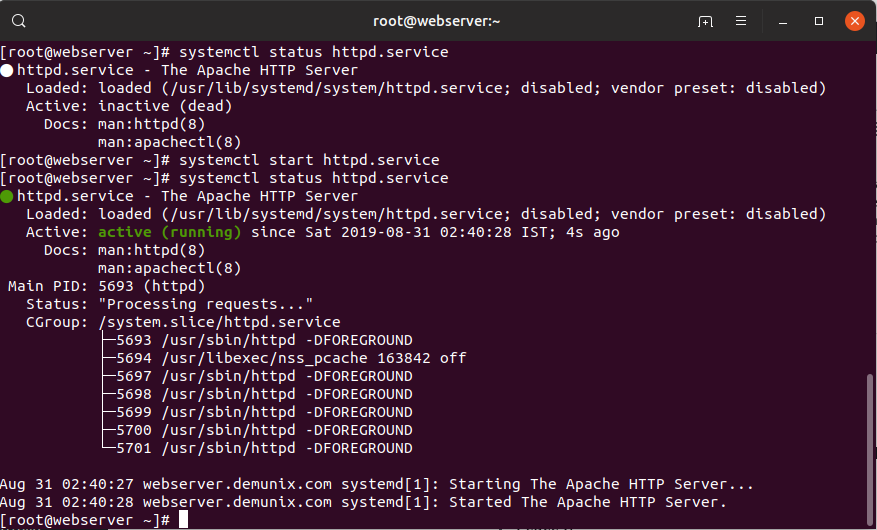
20. Check if Apache httpd daemon is running or not. Start it, if it’s inactive.
Use below commands:
[root@webserver ~]# systemctl status httpd.service

● httpd.service - The Apache HTTP Server
Loaded: loaded (/usr/lib/systemd/system/httpd.service; disabled; vendor preset: disabled)

Active: inactive (dead)
Docs: man:httpd(8)
man:apachectl(8)

[root@webserver ~]# systemctl start httpd.service

[root@webserver ~]# systemctl status httpd.service

● httpd.service - The Apache HTTP Server
Loaded: loaded (/usr/lib/systemd/system/httpd.service; disabled; vendor preset: disabled)

Active: active (running) since Sat 2019-08-31 02:40:28 IST; 4s ago
Docs: man:httpd(8)
man:apachectl(8)
Main PID: 5693 (httpd)
Status: "Processing requests..."
CGroup: /system.slice/httpd.service
├─5693 /usr/sbin/httpd -DFOREGROUND
├─5694 /usr/libexec/nss_pcache 163842 off
├─5697 /usr/sbin/httpd -DFOREGROUND
├─5698 /usr/sbin/httpd -DFOREGROUND
├─5699 /usr/sbin/httpd -DFOREGROUND
├─5700 /usr/sbin/httpd -DFOREGROUND
└─5701 /usr/sbin/httpd -DFOREGROUND

Aug 31 02:40:27 webserver.demunix.com systemd[1]: Starting The Apache HTTP Server...
Aug 31 02:40:28 webserver.demunix.com systemd[1]: Started The Apache HTTP Server.
Add httpd to chkconfig, so that it automatically starts on every reboot.

Use below command:
[root@webserver ~]# chkconfig httpd on

Note: Forwarding request to 'systemctl enable httpd.service'.

Created symlink from /etc/systemd/system/multi-user.target.wants/httpd.service to /usr/lib/systemd/system/httpd.service
OR:
[root@webserver ~]# systemctl enable httpd.service

Created symlink from /etc/systemd/system/multi-user.target.wants/httpd.service to /usr/lib/systemd/system/httpd.service
21. Setup firewall to open connection on port 80 in firewalld to allow incoming http requests on the Web Server.

Use below commands:
[root@webserver ~]# firewall-cmd --add-port=80/tcp

success
22. Once you’re done with opening port in firewalld you’re all done. Now enter the IP address or hostname in Web Browser’s address bar.
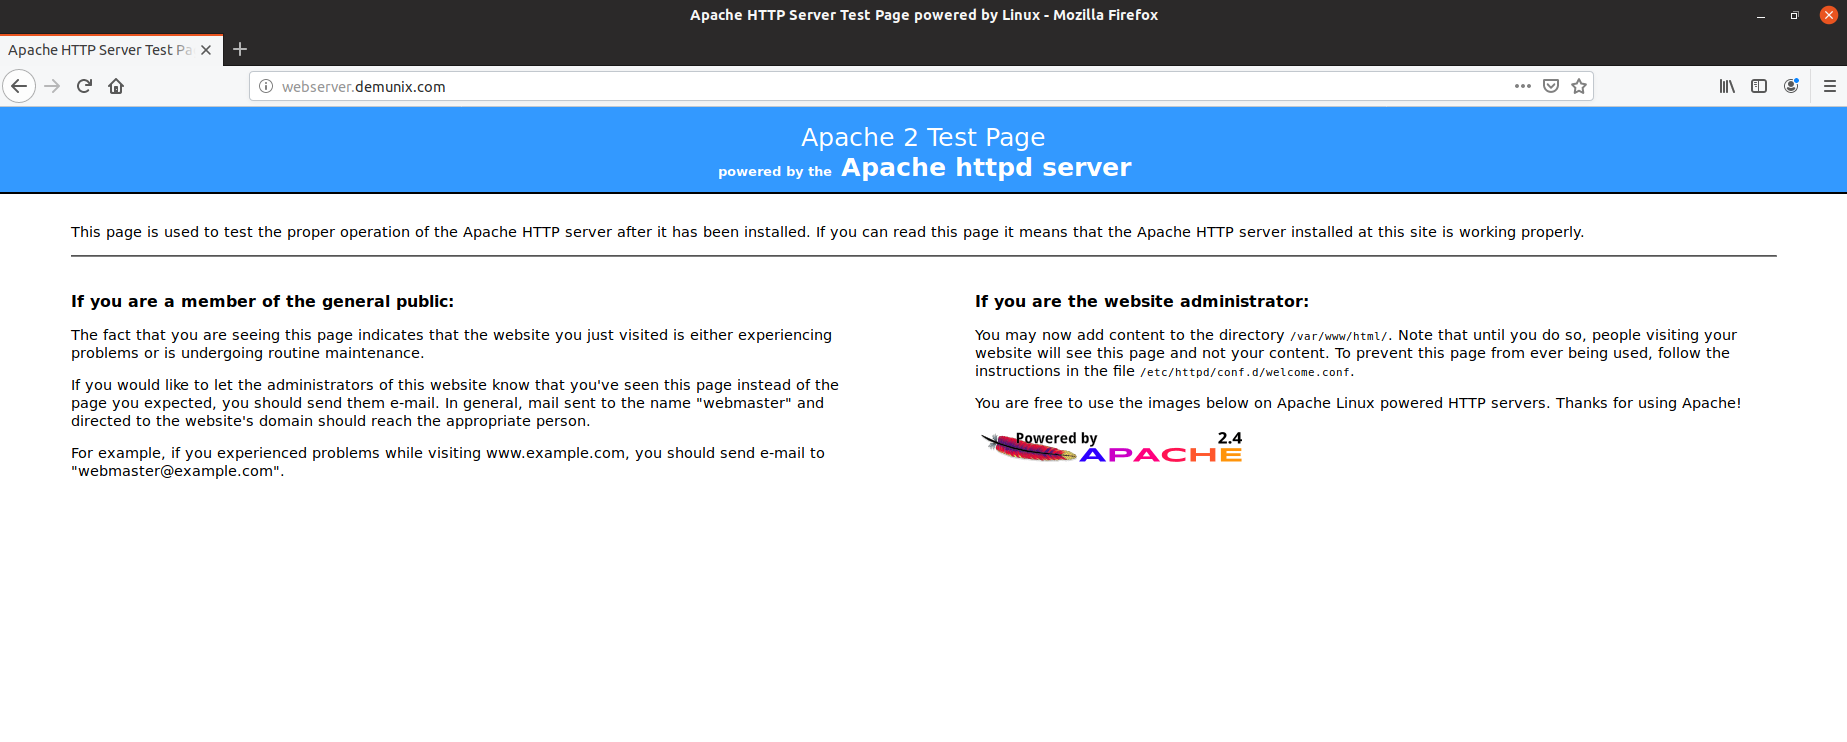
Boom, there you go. Your Apache Server is up now. Let’s try uploading dummy website content to the server.
Root directory for html document in apache is /var/www/html
At this path on Web Server you’ll have to upload your website.

Commands:
[root@webserver ~]# cd /var/www/html/

[root@webserver html]# vi index.html

[root@webserver html]# cat index.html

<h1>Hey this is Apache Web Server configured by Huzefa on Demunix</h1>

[root@webserver html]#
Let’s visit the website again,
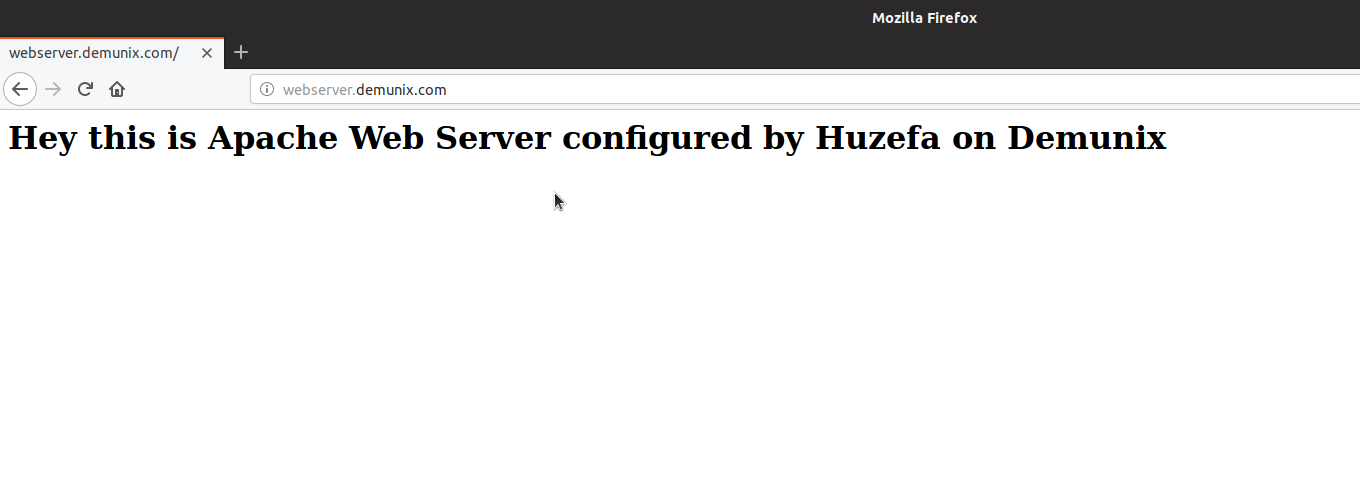
There you go.
We have setup Apache Web Server on Oracle Linux 7.5 which is a VM on ESXi Bare-Metal Virtualization Server. In Next post we’ll create another VM to deploy MySQL database server on it. Stay tuned for more deep technical content. Do follow me on social media and also catch me on 9 different podcast platforms here.
Listen to Podcast of this post, available on :
Peace 🙂