

Citrix XenServer is a type 1 hypervisor. Also known as bare metal hypervisor. They’re used for setting up virtual environment wherein there would be no middle OS between Hardware and guest Operating Systems.
In this article we’ll see how to deploy a virtual machine in Citrix XenServer.
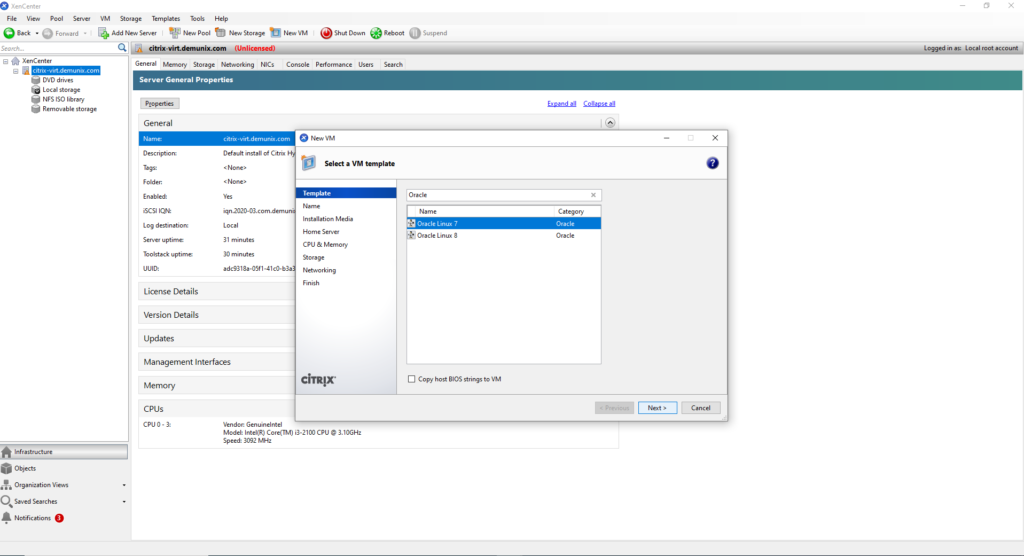
Connect to your XenServer using XenCenter(On Windows) or OpenXenManager(Linux – Unofficial). Right Click on your server and click on New VM.

Select a VM Template (Depends on OS which you’re installing).
Assign name and description to identify the VM.

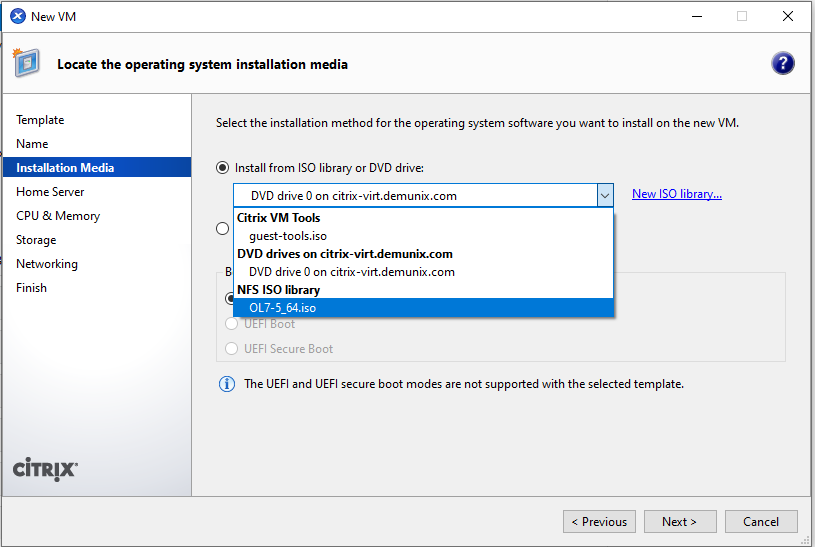
Select the source of OS. Either DVD Drives on the machine where your XenServer is installed or you can select an ISO of operating system from ISO library. If there’s no ISO library already on your XenServer then you’ll have to create one using NFS server (if Linux) or SMB server (if Windows). Here I have a post of step by step creation of ISO Library using NFS server.
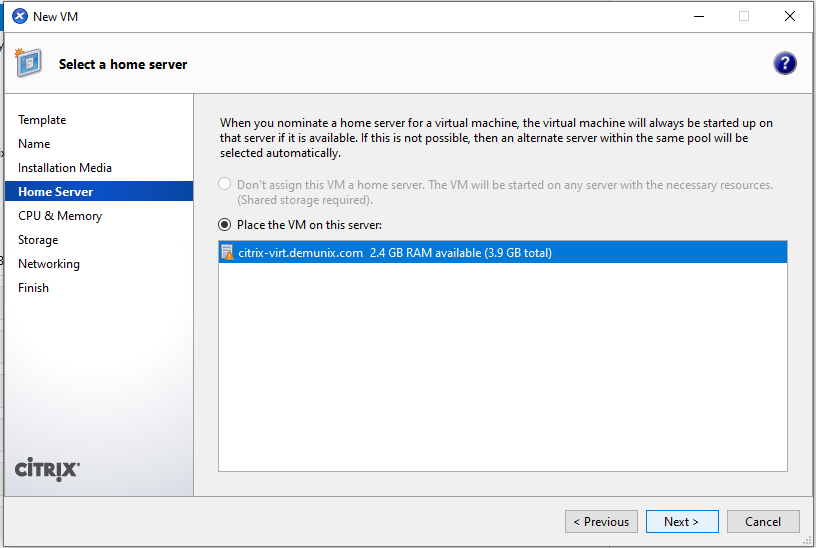
Select a Home Server.
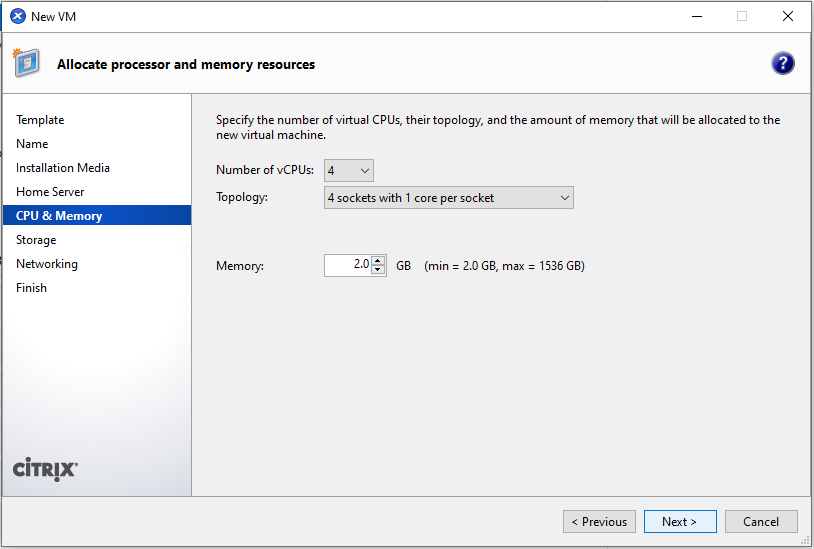
Assign CPU and RAM to your Virtual Machine.
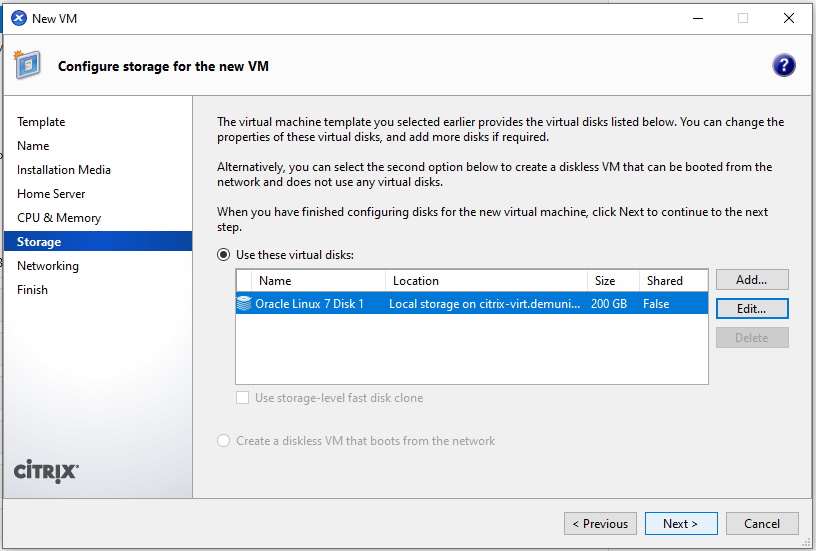
Select the storage from available storage devices. Local or NAS or LUN.

Select device, click on edit, name the virtual storage, descriptive description, desired size of storage and click on ok.
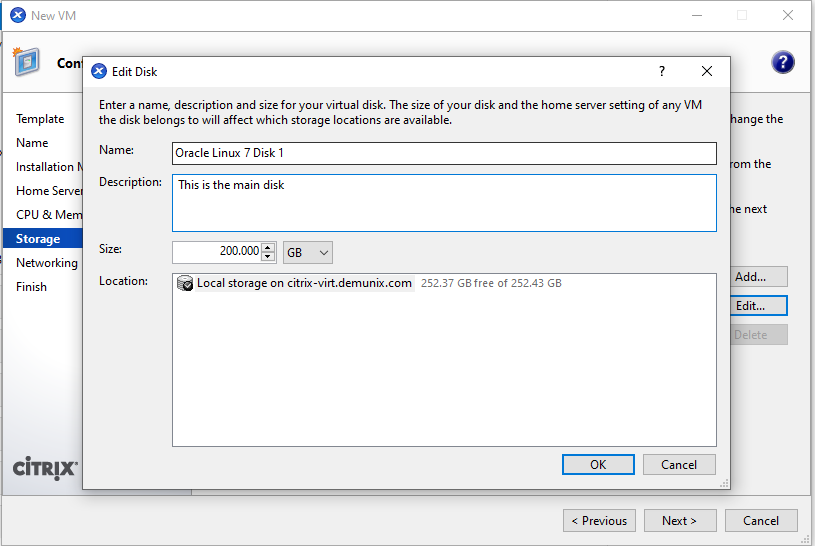
You’ll now new size of the virtual disk (200GB in my case). click on next now.
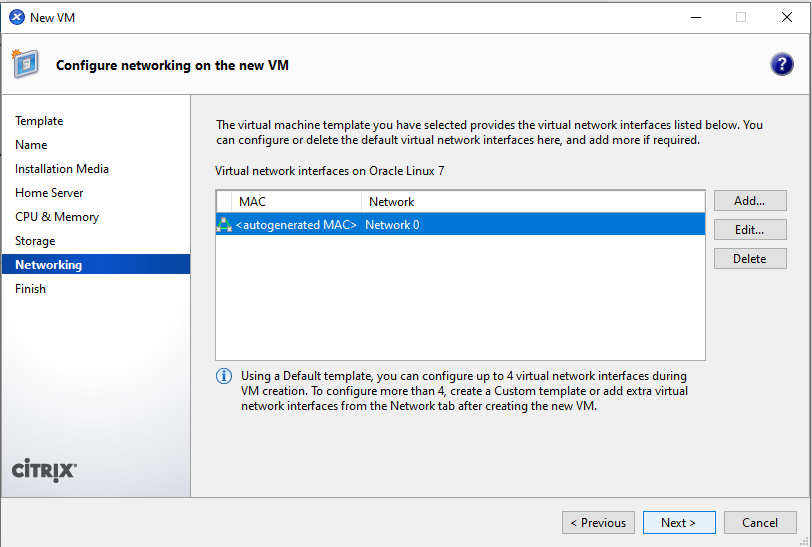
Virtual LAN card configuration. Keep it as it is unless you have additional network requirement.
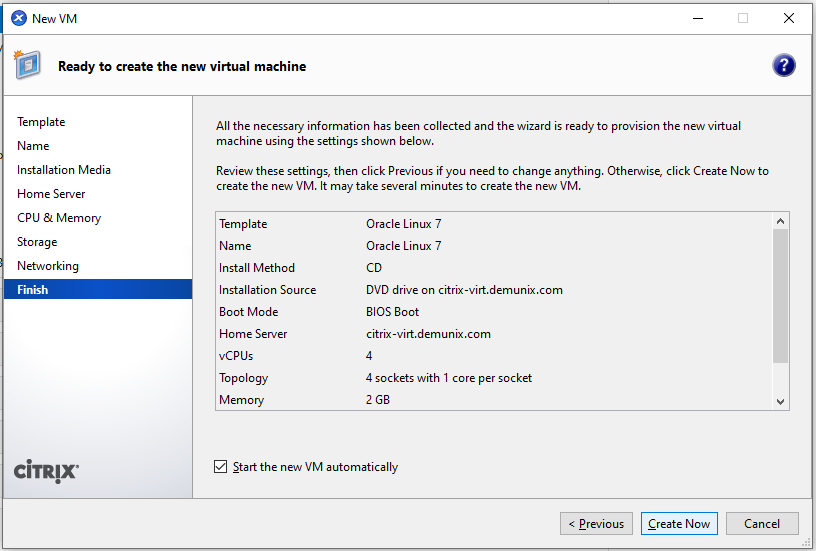
Verify all settings from summary.
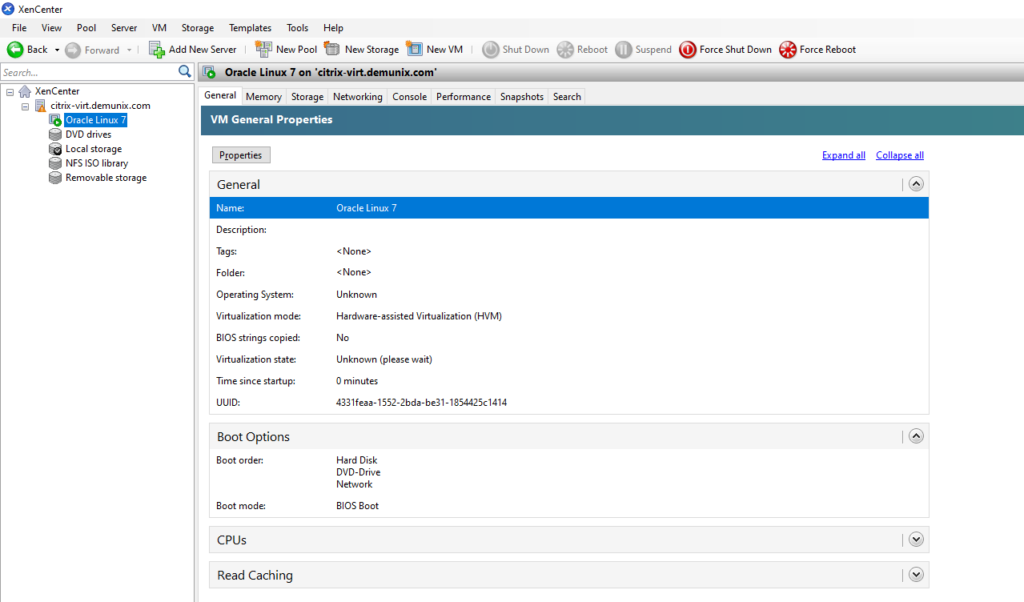
You can see the VM is now created.
Click on console tab of navigation menu in order to get console and proceed with the installation.
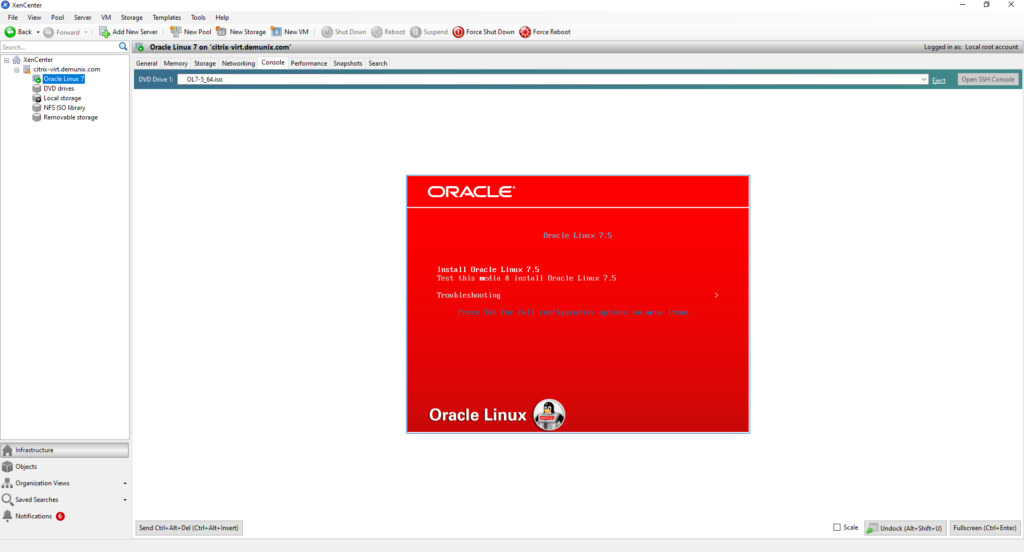
You can also invoke fullscreen mode nu hitting (Ctrl + Enter) or click the option available in Right Bottom corner.
There you go. Peace 🙂