

Installation of Oracle Database 19c on Oracle Linux 7.5
Oracle Database 19c has the longest support boundary from Oracle i.e. 2026 for extended support. It’s time to upgrade to Oracle Database 19c. In this post we’ll see the installation of Oracle Database 19c on Oracle Linux 7.5
Before we proceed with the installation, some of the points need to be taken care. Here I’m assuming you already have downloaded Database from Oracle eDelivery. If you haven’t downloaded it yet, you can download it from Here.
1. Running preinstall for Oracle19c from Oracle’s yum repository.
- This preinstall package from Oracle will make all necessary changes in the environment and set required kernel parameters.
[root@bcp /]# yum -y install oracle-database-preinstall-19c
Once we’re done with this preinstall package, we’re good to proceed with actual installation. We need to make directories to store Oracle Software binaries.
2. Making directories & adding groups.
- We’ll make directories to hold Oracle Database and Oracle Grid Infrastructure. We’ll perform these actions with root user.
[root@bcp u03]# mkdir -p /u03/app/oracle/product/19.0.0/dbhome_1
- We’ll check which group does oracle user belongs to.
[root@bcp /]# groups oracle
oracle : oracle
Here as we can see user oracle belongs to only one group which is a default group for the user oracle.
- We’ll assign require group to user oracle and verify.
[root@bcp /]# usermod -g oinstall -G oracle oracle
[root@bcp /]# groups oracle
oracle : oinstall oracle
Now we can see user oracle’s primary group is oinstall and secondary group is oracle.
3. Changing ownership of the created directories.
- Now we’ll have to change the ownership of the created directories to user oracle and group oinstall. So first we will check the current ownership of the directories.
[root@bcp /]# ls -lrth | grep u03
drwxr-xr-x. 3 root root 4.0K Oct 9 23:00 u03
And as we can see above, current user is root and the group is also root which is a default group of the root user.
[root@bcp /]# chown -R oracle:oinstall /u03
Now we’ll verify, if the changes have been applied or not.
[root@bcp /]# ls -lrth | grep u03
drwxr-xr-x. 3 oracle oinstall 4.0K Oct 9 23:00 u03
And here we can see, now the user is ‘oracle‘ and group is ‘oinstall‘. So now we can proceed with extracting zip. Don’t forget to switch to oracle user now. Further actions are supposed to be performed by oracle user.
4. Extracting zip of 19c Database setup.
- In Oracle Database 19c, the directory from which you’ll execute ./runInstaller will become the ORACLE_HOME by default. So You’ll have to extract the setup to the directory you intend to make ORACLE_HOME.
[oracle@bcp]$ unzip V982063-01.zip -d /u03/app/oracle/product/19.0.0/dbhome_1/
Once the zip is extracted, we are good to proceed with the installation by running ./runInstaller.
6. Initiating installation.
- Now we’re good to initiate Database installation.
[oracle@bcp ~]$ /u03/app/oracle/product/19.0.0/dbhome_1/./runInstaller
Launching Oracle Database Setup Wizard...
- For RAC installation or Upgrading your existing older version of Oracle Database Select Set Up software only and click NEXT.
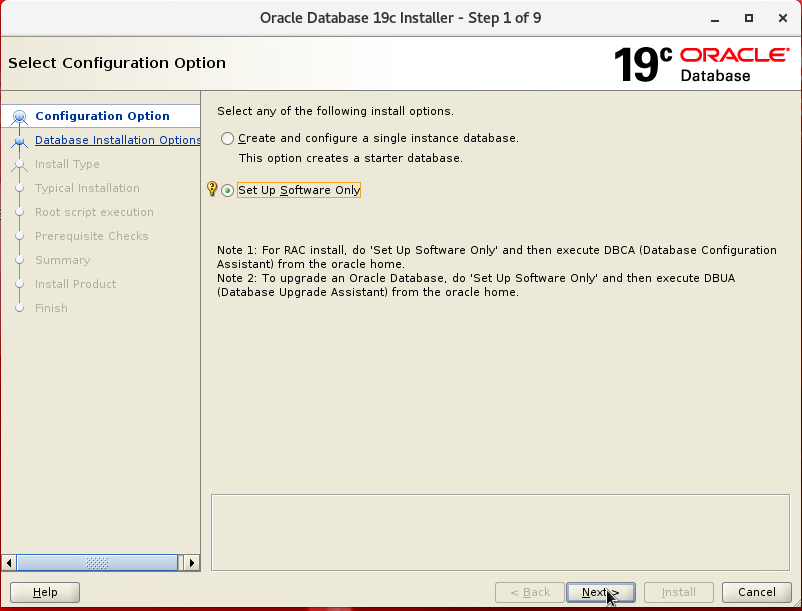
- If you’re planning to set up RAC select second option, else for Single Instance Database use or upgrade, select First option.
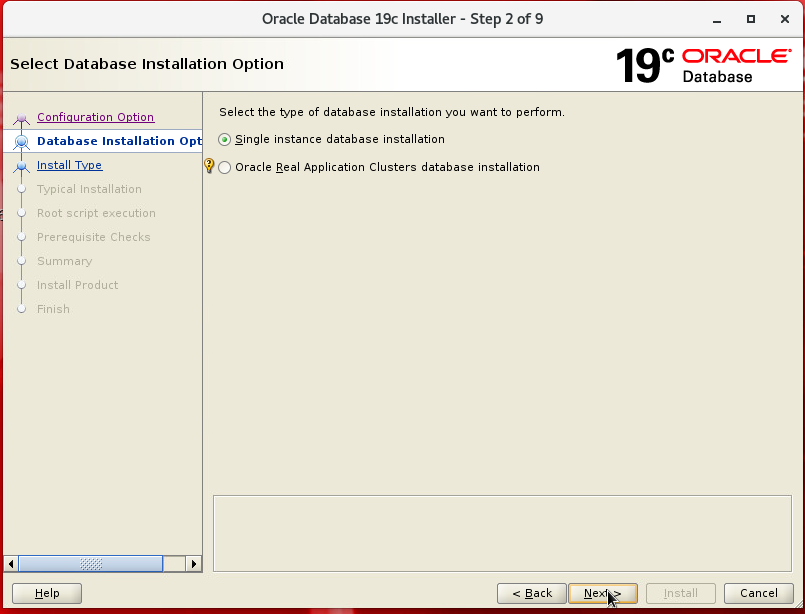
Select Single instance database installation and click NEXT.
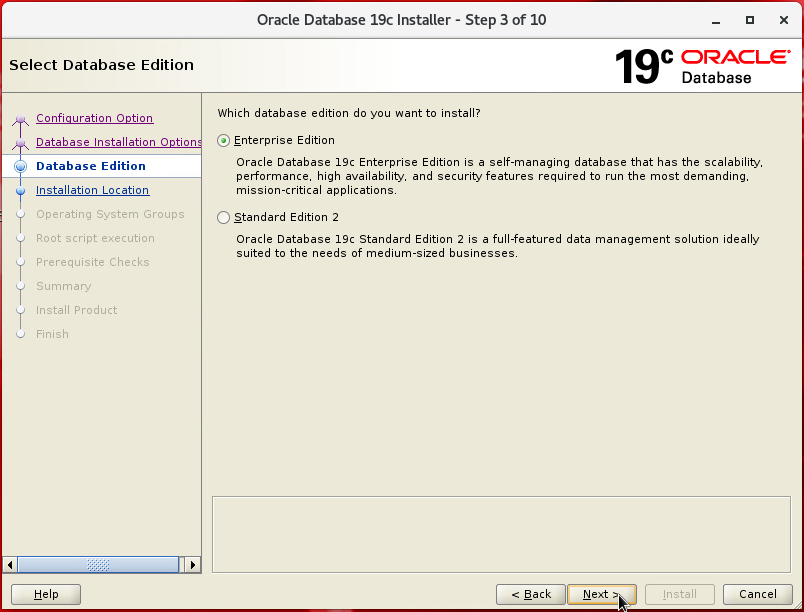
- Select which database edition you want to install.
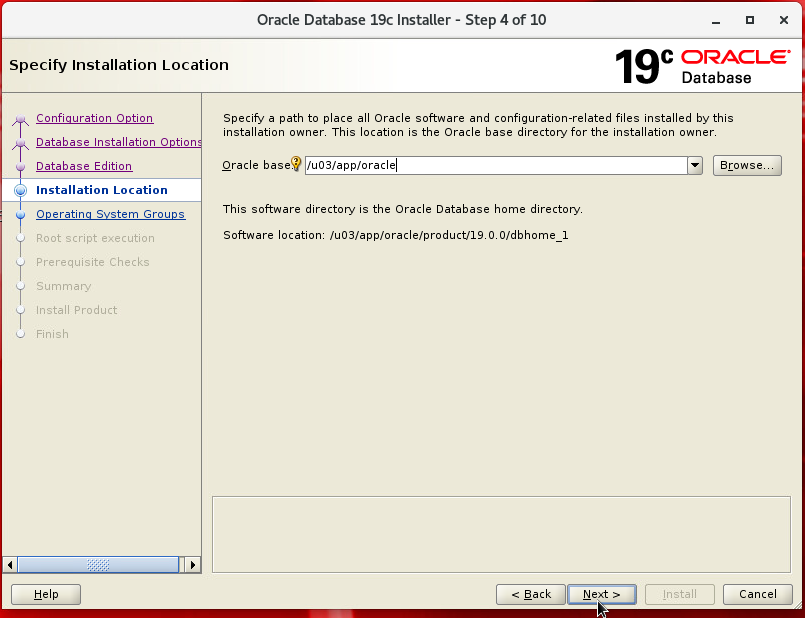
- Select the directory for Oracle base. Notice that we do not have an option to select Oracle Home and it’s preselected with the directory where we have extracted software setup.
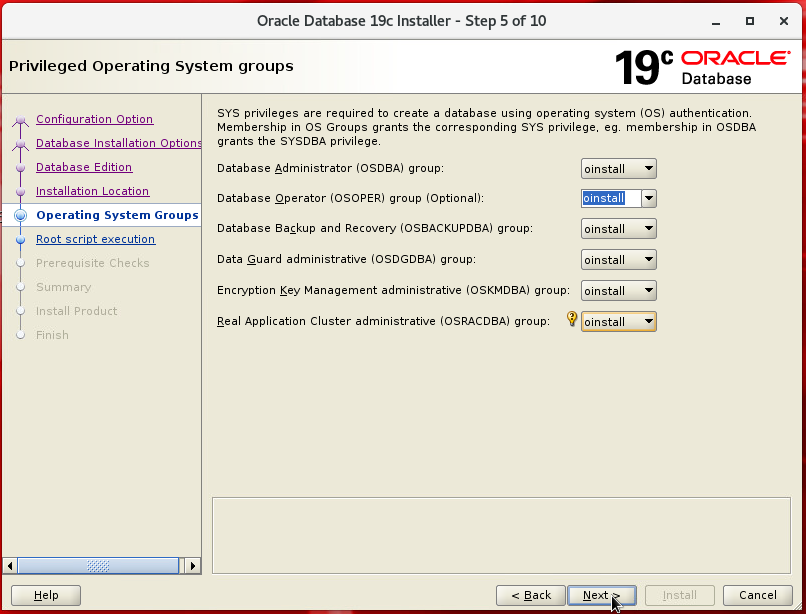
- Select groups as per requirement and click NEXT.
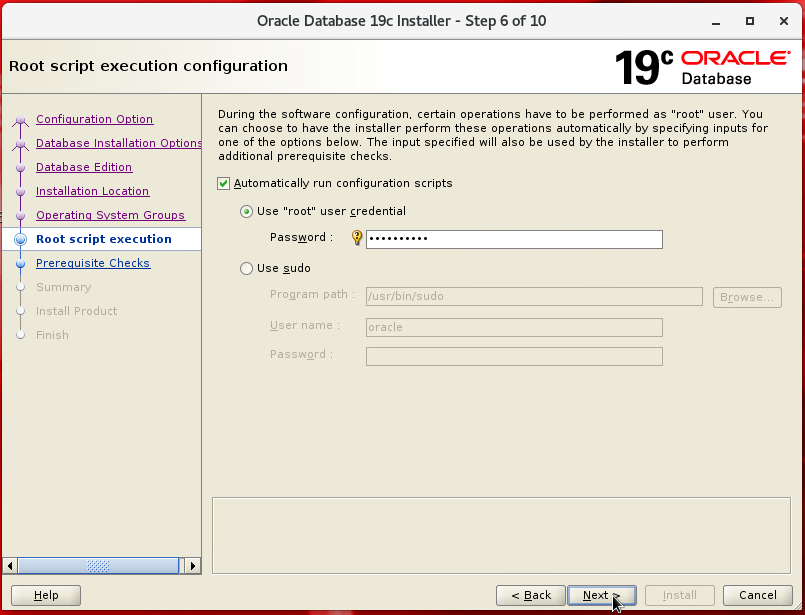
- You can Check Automatically run configuration script by providing root or sudo credentials. or root scripts can be run manually when prompted.
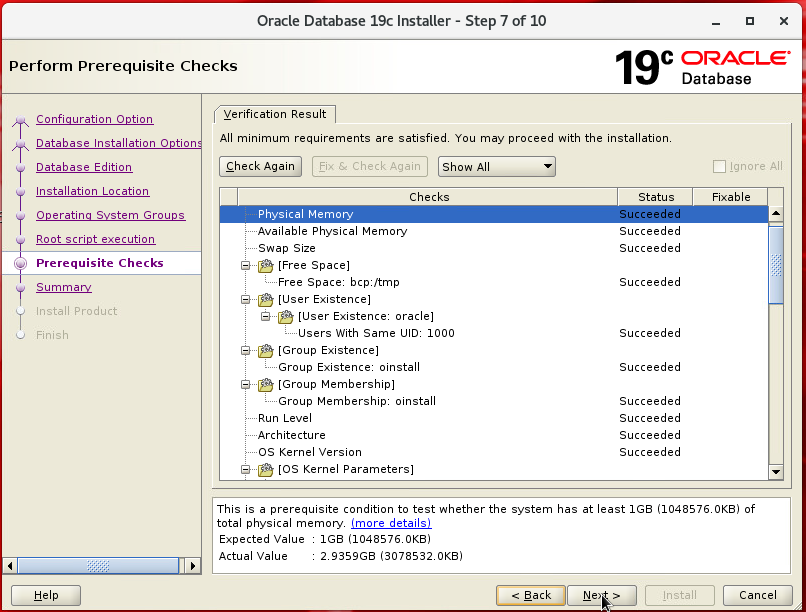
- All Pre-requisites passed, click on NEXT.
- Installation Summary, verify your selections and click on Install.
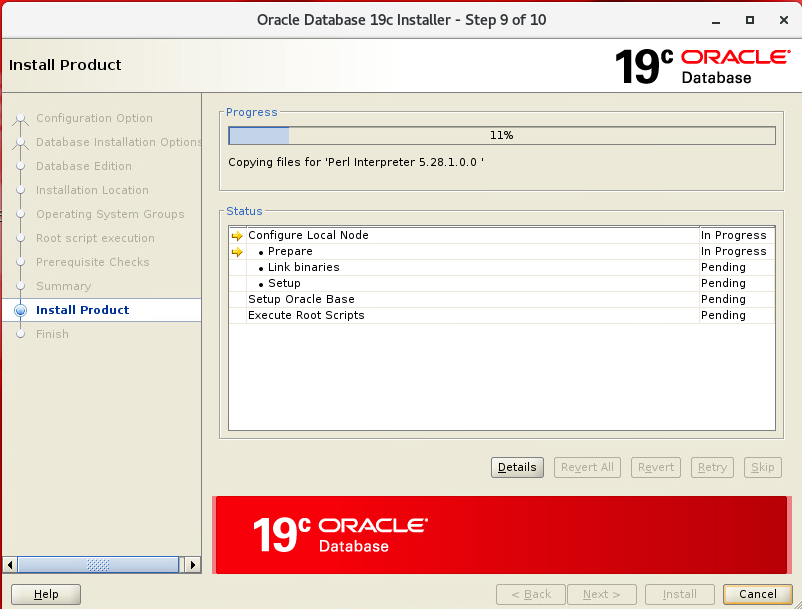
- Installation began now.
- Running root script.
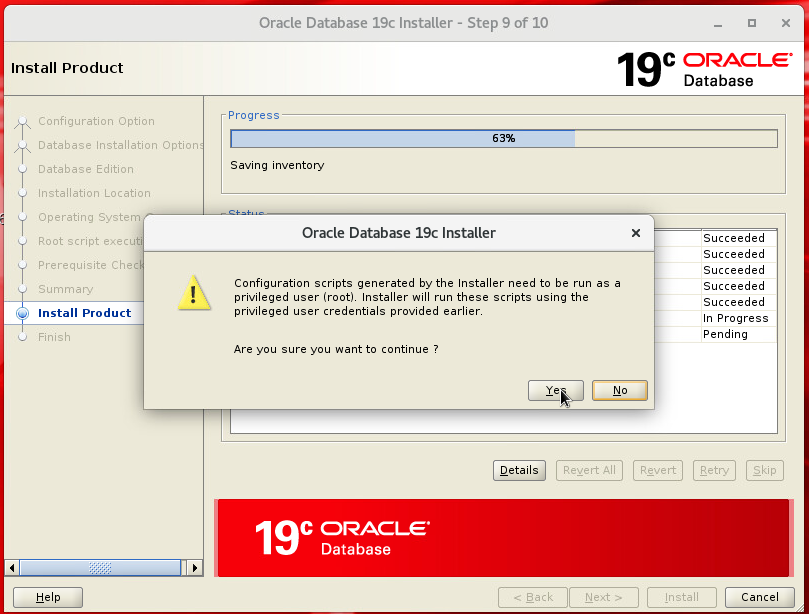
We had selected auto run of root script, hence Installer has prompted for the confirmation to run the script.
If you’re running root script manually, below is the location of the script which you may share with sysadmins in case you do not have root access of the server.
- Run the root.sh script as a root user from the location shown below.
[root@bcp ~]# sh /u03/app/oracle/product/19.0.0/dbhome_1/root.sh
Keep on hitting Enter key unless you want any changes in default values. Once done click OK on a prompt.
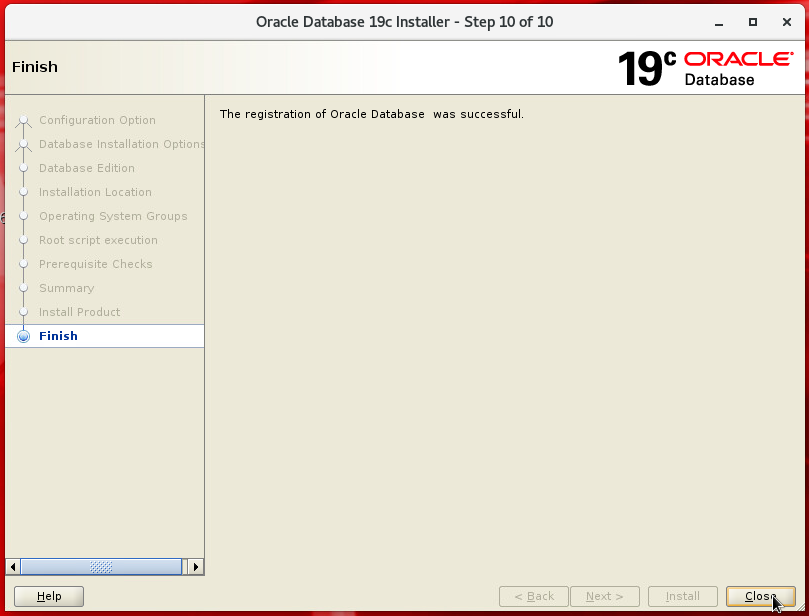
- We’ve Successfully Installed Oracle Database 12cR2.
6. Setting up .bash_profile
- So now we have successfully installed Oracle Database 19c. One last but not least step is required before we could access our Database.
Setting up bash profile for Database.. To setup bash profile we will login with oracle user and make below changes in .bash_profile for Database.
- For Database Profile.
[oracle@bcp ~]$ vi .bash_profile
# Oracle Settings
TMP=/tmp; export TMP
TMPDIR=$TMP; export TMPDIR

ORACLE_HOSTNAME=bcp.demunix.com; export ORACLE_HOSTNAME
ORACLE_UNQNAME=DEMTEST; export ORACLE_UNQNAME
ORACLE_BASE=/u03/app/oracle; export ORACLE_BASE
ORACLE_HOME=$ORACLE_BASE/product/19.0.0/dbhome_1; export ORACLE_HOME
ORACLE_SID=DEMTEST; export ORACLE_SID

PATH=/usr/sbin:$PATH; export PATH
PATH=$ORACLE_HOME/bin:$PATH; export PATH

LD_LIBRARY_PATH=$ORACLE_HOME/lib:/lib:/usr/lib; export LD_LIBRARY_PATH
CLASSPATH=$ORACLE_HOME/jlib:$ORACLE_HOME/rdbms/jlib; export CLASSPATH
echo "ORACLE PROFILE LOADED"
Then will insert profile content, to save the changes and exit [ESC] and :wq
- To load this profile.
[oracle@bcp ~]$ . .bash_profile
 ORACLE PROFILE LOADED
- Now let’s try login to Database, as sysdba.
[oracle@bcp ~]$ sqlplus / as sysdba

SQL*Plus: Release 19.0.0.0.0 - Production on Wed Oct 9 19:47:17 2019
Version 19.3.0.0.0

Copyright (c) 1982, 2019, Oracle.  All rights reserved.

Connected to an idle instance.


SQL>
Peace 🙂